Skyline nails are gaining their popularity these days, and there is no wonder why. The thing is that when it comes to the skyline, you come to the understanding that there is so much beauty in something as simple as that. That silent and maybe hidden mesmerizing make people get obsesses with skyline everything starting with drapes to the pillowcase. We tell you what – it is time to take your obsession to the next level and to introduce some skyline into your blue sky nails ideas. To be more precise that is something we are going to teach you how right now! Get ready!
Best Ideas For Sky Nails
You can use the proposed tutorials to create your own unique nail designs. We offer several ideas for inspiration.
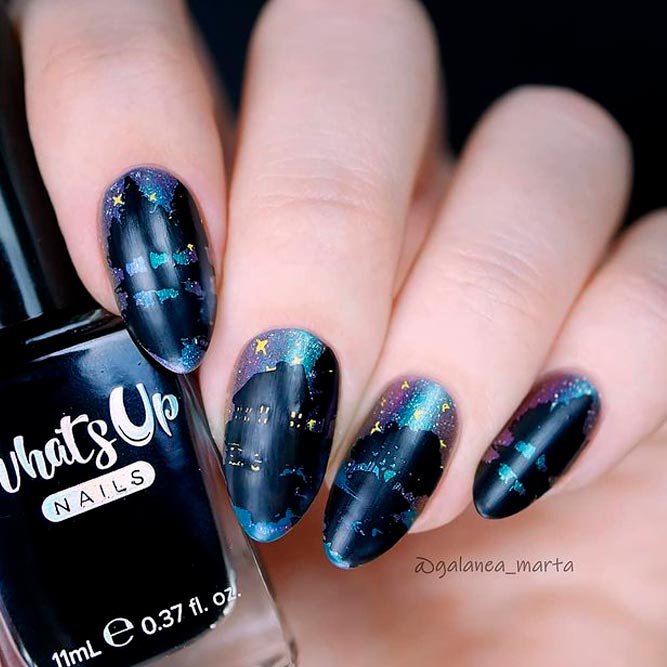
Skyline Nails in Night City

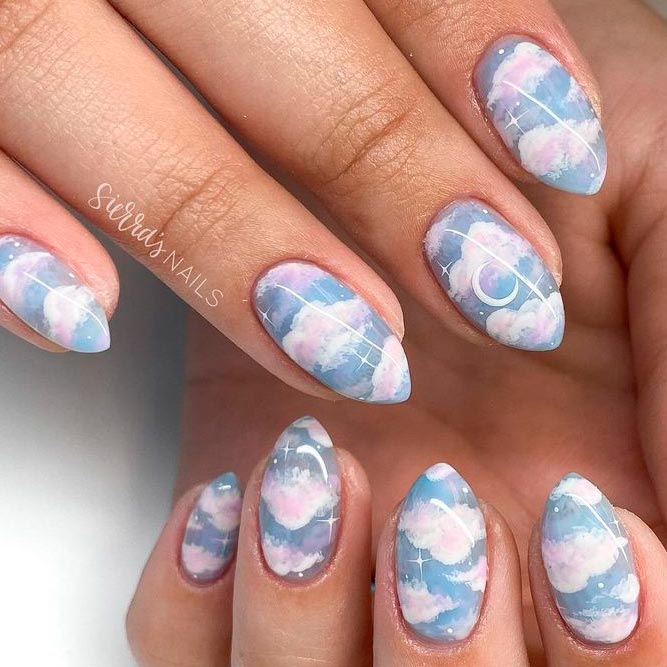
Light Sky Nails Designs
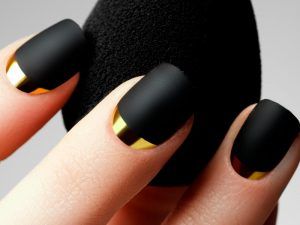
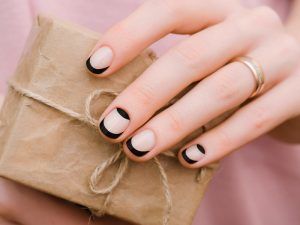
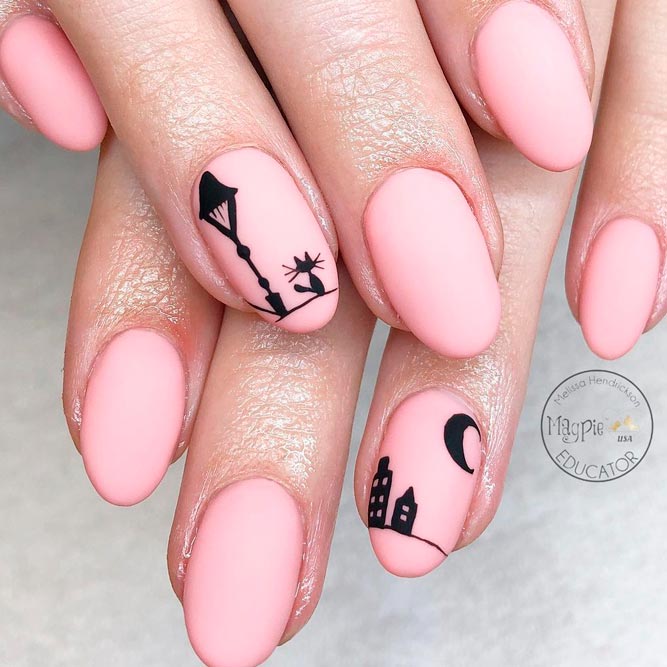
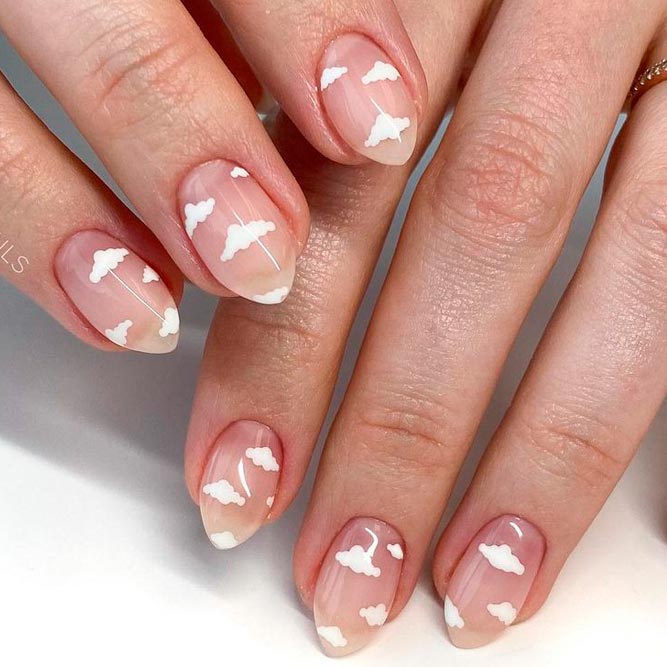
Nude Nails with Skyline Art

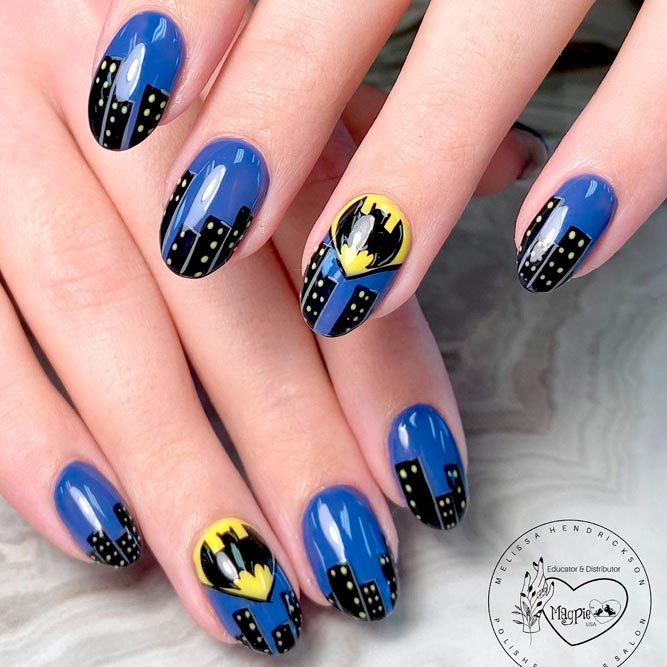
Batman Nails Art
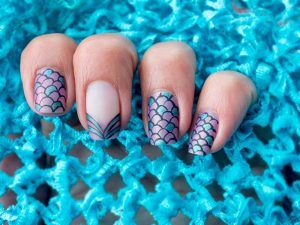
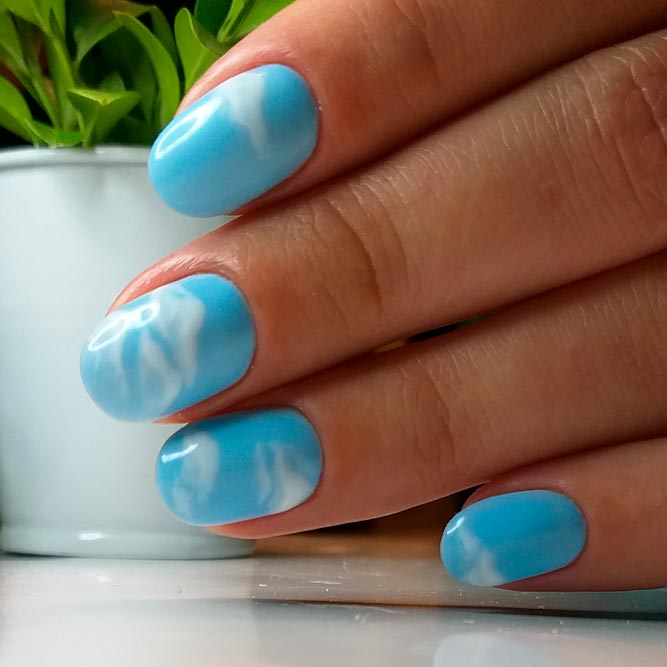
Blue Sky Nails Designs
Nature Sky Nails Designs
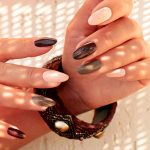
Skyline Nails with Animals
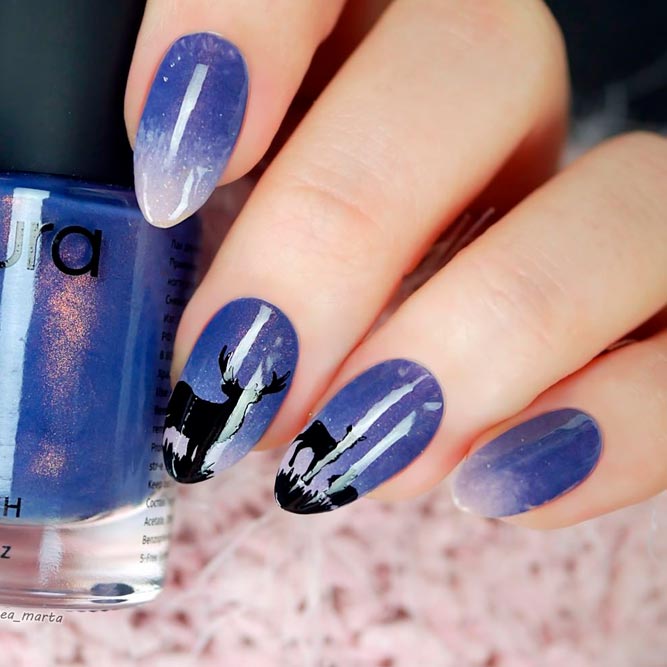
Purple Ombre Nails Skyline
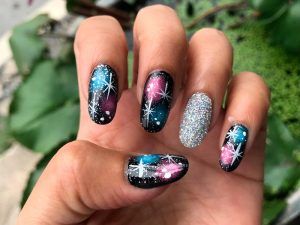
Dark Night Sky Nails Designs
Sky Nails Tutorials to Try
New York Skyline Nails Quick Tutorial

- Apply a base coat.
- Apply base coat to the lower part of your nail.
- Soften the shade with the help of a sponge.
- Add white and red colors to the sponge to complete the transition.
- Apply the sponge to the tip of your nail.
- Use a tiny detailer brush and black nail polish to create skylines.
- With the help of a dotting tool (or anything at hand) add white dots to the black base to resemble the windows.
- Apply top coat.

DIY Sky Nails In Few Steps
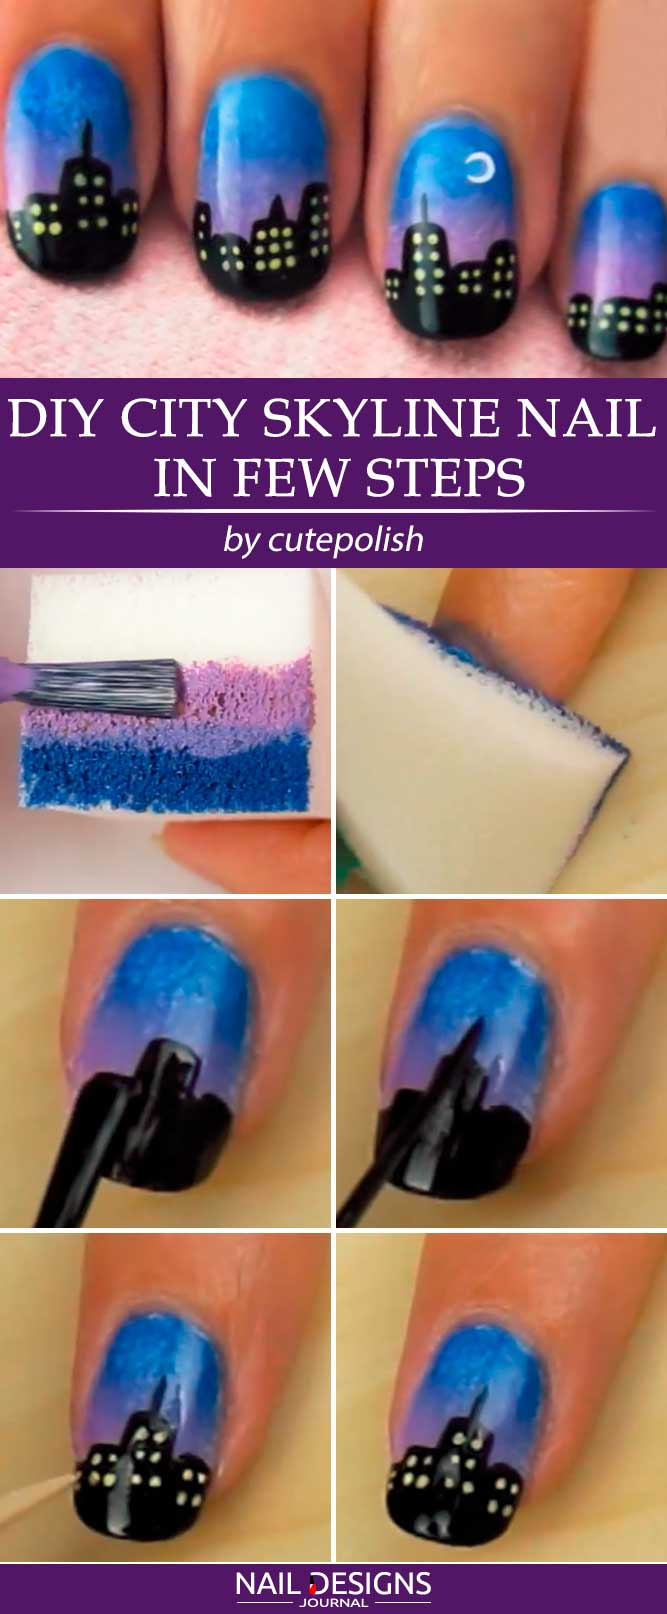
- Apply a base coat.
- Apply white base coat.
- Use a sponge to create the gradient, add blue and purple shades to the sponge.
- Dab the sponge over the nail so that the tip remains white.
- Create ‘buildings’ of different height on your nail with the help of a regular brush and black nail polish.
- Add tiny rows of windows with the help of a toothpick or a small dotting tool.
- Apply top coat.
Quick Simple Skyline Ombre Nails
- Apply a base coat.
- Apply a white base coat.
- Apply the nail polishes you are going to use for the ombre effect to the makeup sponge.
- Press the makeup sponge on the nail to create the transition.
- Use a toothpick and black nail polish to create rectangular shapes which are going to be your skyscrapers.
- Use a toothpick and white nail polish to add ‘windows’ to your skyline.
- Add a few stars and a moon with the help of a toothpick and a white nail polish.
- Apply top coat.
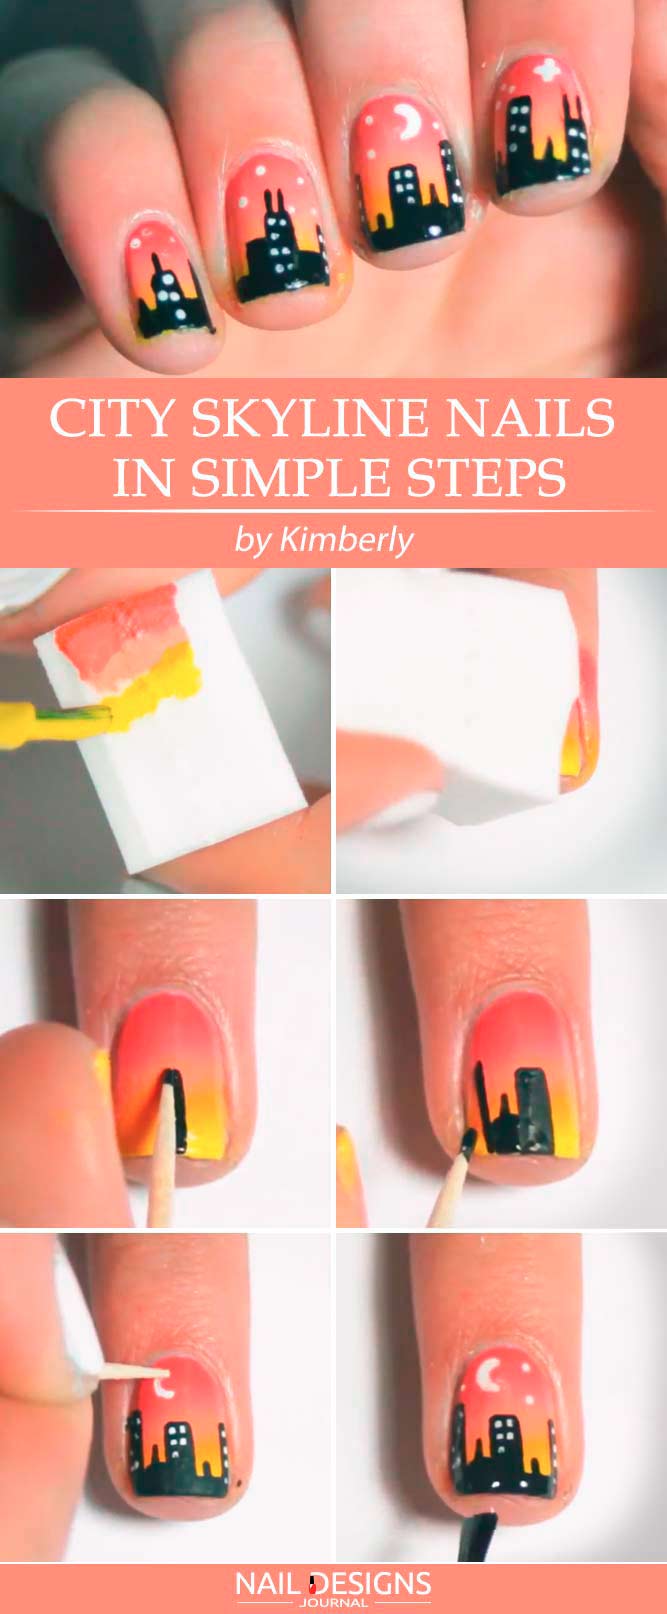
City Sky Nails In Simple Steps
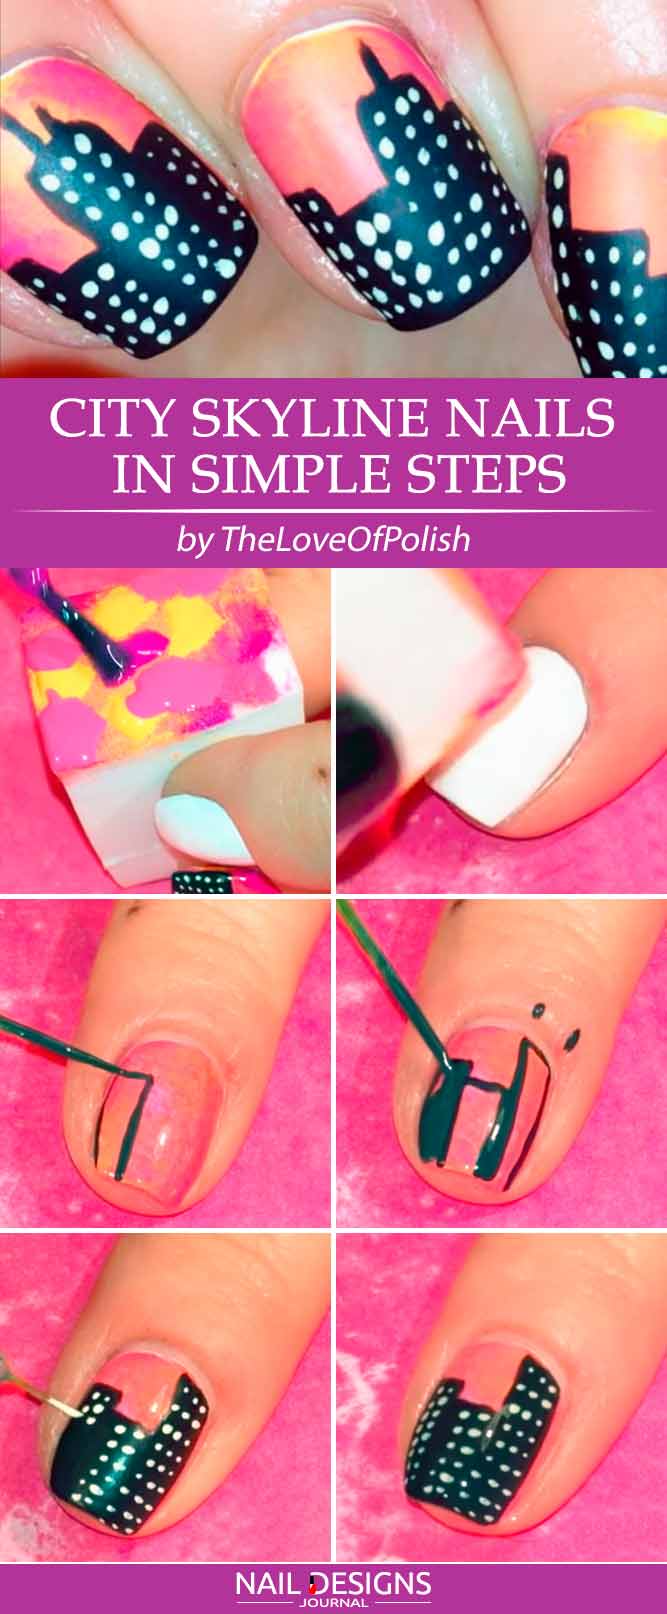
- Apply a base coat.
- Apply white base coat.
- Use your makeup sponge and the all the bright colors of your ombre sunset.
- Dab the colors onto the makeup sponge in any order you like.
- Press the sponge over your nail to create the transition.
- Use a tiny detailer brush and black nail polish to create the outline of your buildings.
- Fill the outlines in.
- Use a tiny brush and a white nail polish to add windows to your buildings.
- Apply a matte top coat.

Sky Blue Nails You Can Do In 5 Min
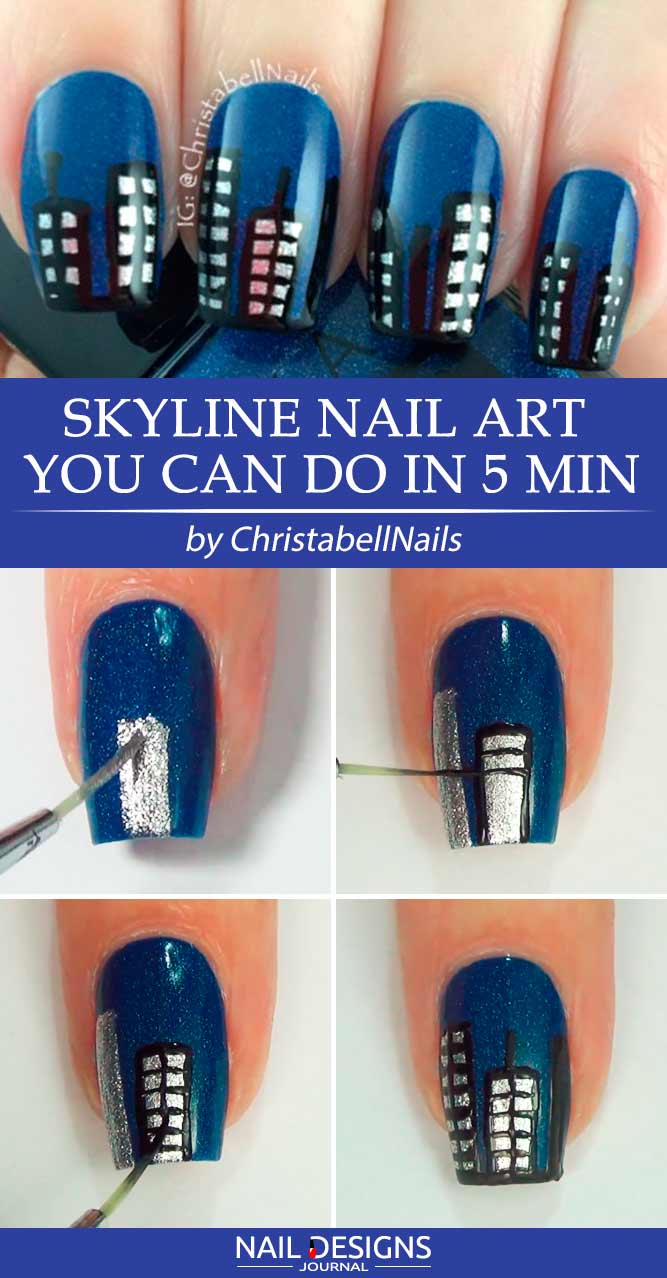
- Apply a base coat.
- Apply a dark blue base coat.
- Use silver nail polish and a detailer brush to create rectangular-shaped boxes.
- Outline the silver boxes with black.
- Use a detailer brush and black nail polish to add a few horizontal lines to the design.
- Add a vertical tine line to finish off the ‘building’.
- Add a few more black lines to resemble dark buildings.
- Apply a top coat.
Simple Nails Using Mood Polish for Blue Sky Nails

- Apply a base coat.
- Apply a mood polish coat.
- Use a dotting tool or a detailer brush and sparkly black nail polish to create ‘buildings of
different’ height on your nails. - Use a dotting tool and a white nail polish to add ‘windows’ to the design.
- Apply a top coat.
We hope you enjoy these tutorials and will succeed in their replication with the least of time and effort involved. Do not forget to visit us for some more fresh ideas and pieces of trendy advice!
Was this article helpful?