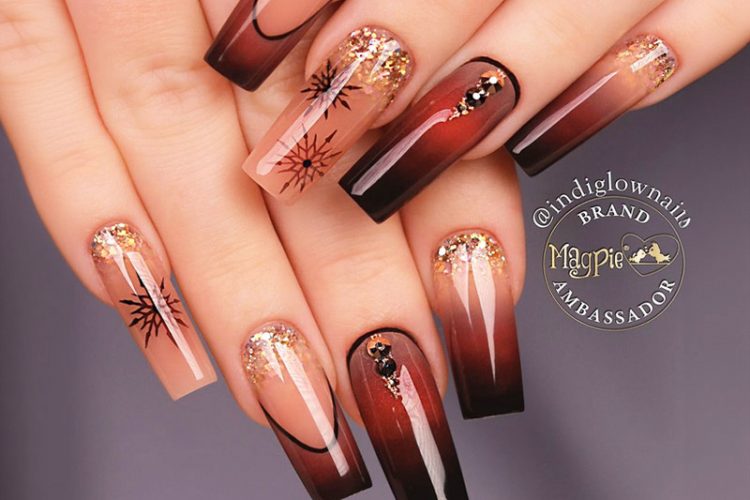
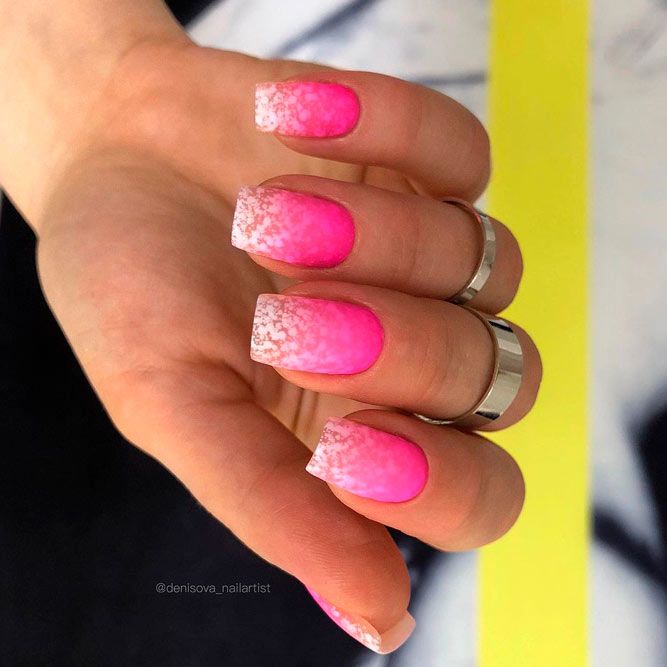
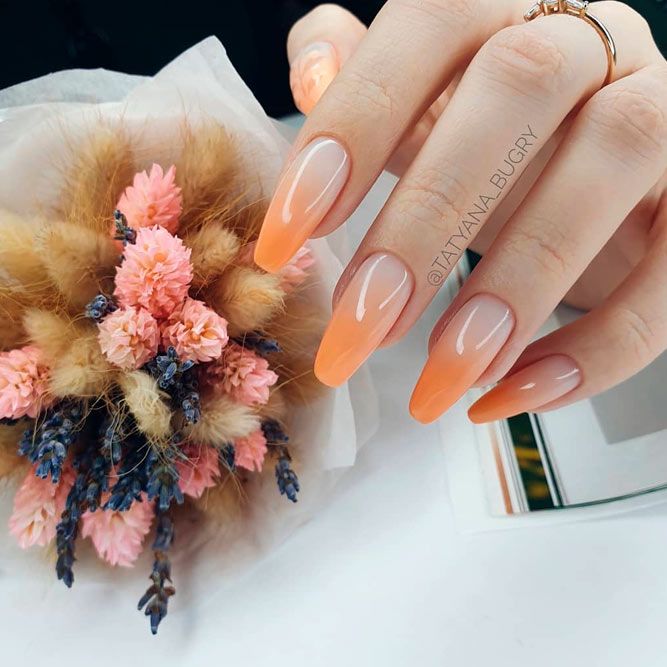
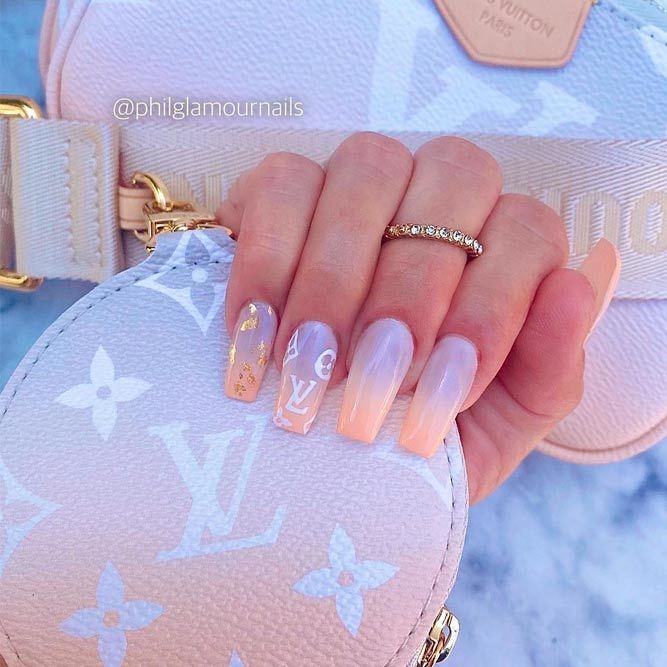
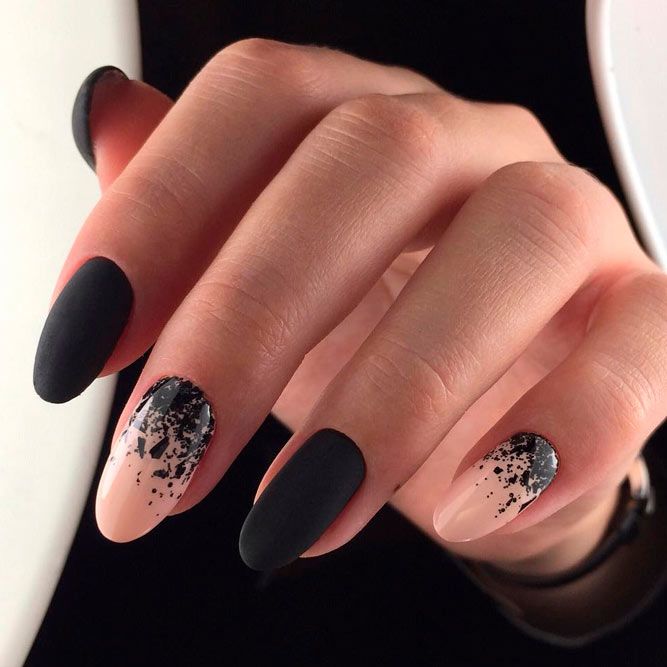
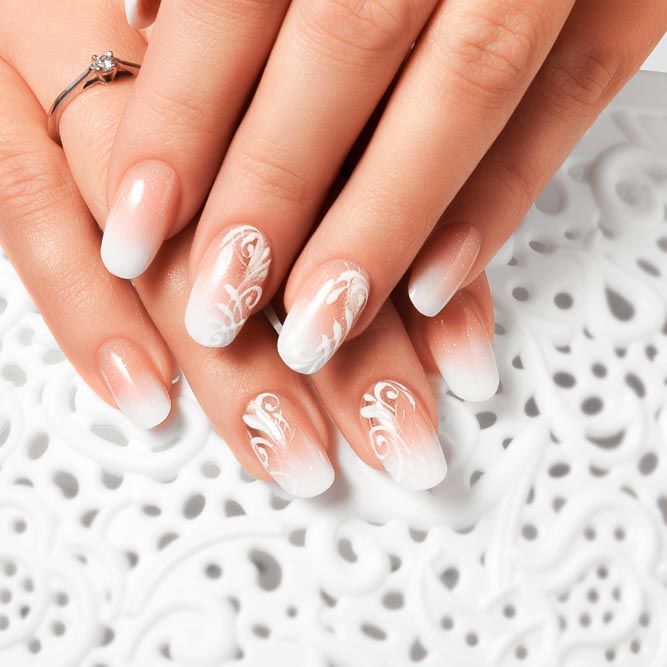
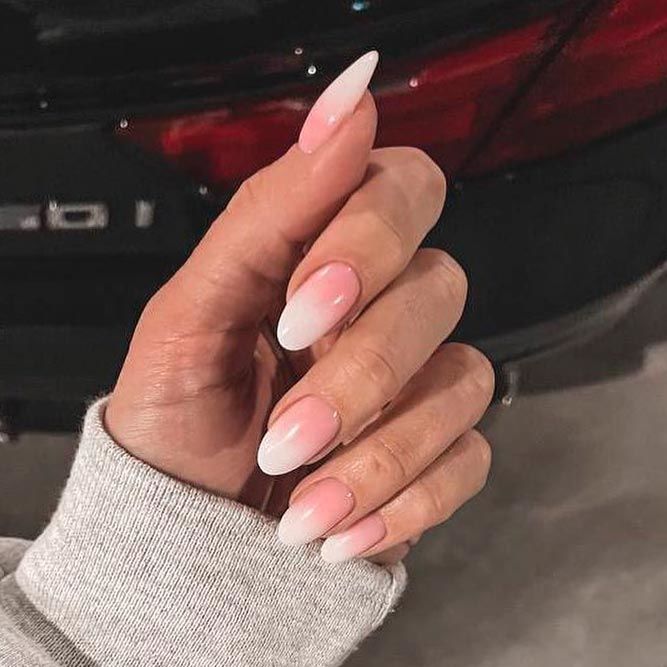
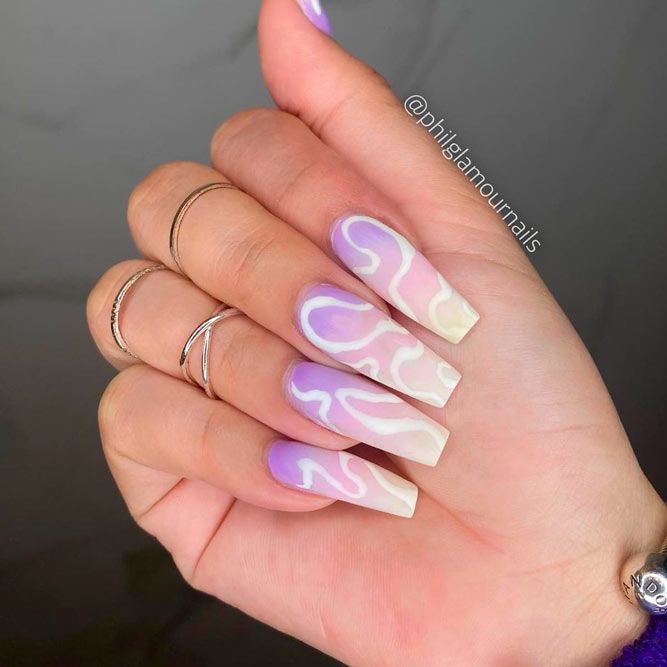
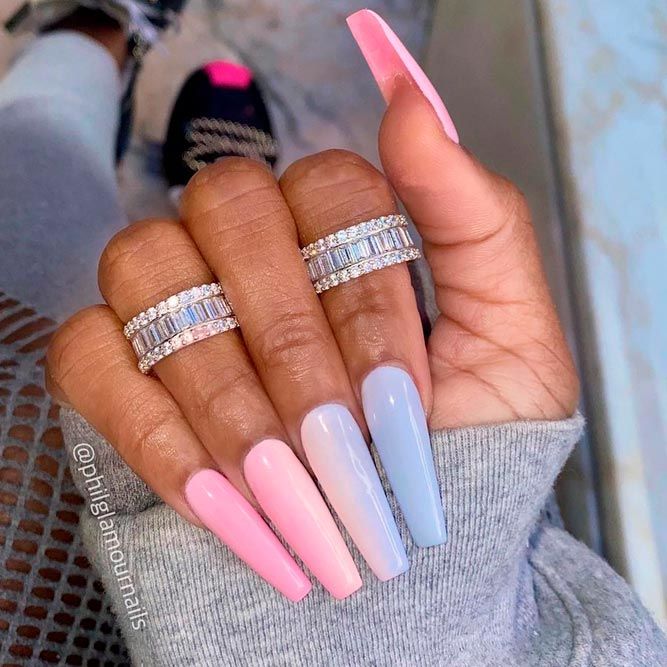
There are many ways to do ombre nails at home. You can use a sponge and nail polish, gel or acrylic. It is also possible to create a gradient with a nail brush or even a Q tip. The pattern can be vertical, horizontal, diagonal and anything in between. No matter what style you are going to choose, you are guaranteed an impressive result! Just make sure to study my guide carefully to master DIY ombre nails.
Quick Navigation
- What Is An Ombre Nail?
- Сlassic Ombre Technique
- How To Do Ombre Nails Without Sponge
- Ombre Nails Made with Brush
- Glitter Ombre Gel Nails
- Ombre Nails Made with Airbrush
- Holographic or Chrome Ombre Nails
- Vertical Rainbow Ombre Nails
- How To Ombre Nails With Floral Art
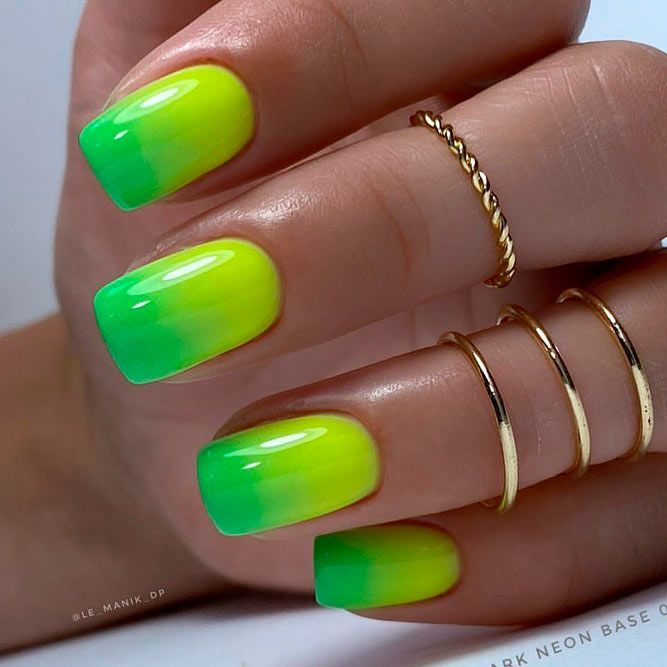
- Bright Colored Ombre Nail Designs
- Gentle Ombre With Stones
- Absract Ombre Nail Art
- Classic French Fade
- Trendy And Sweet Pastel Gradient
What Is An Ombre Nail?
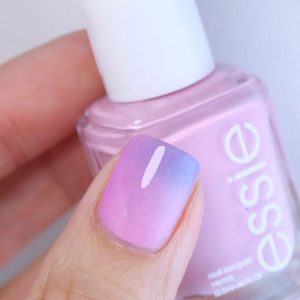
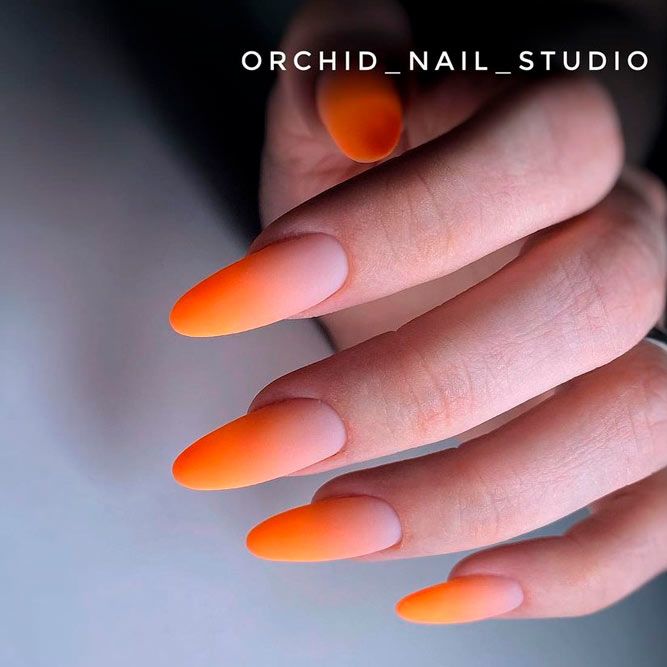
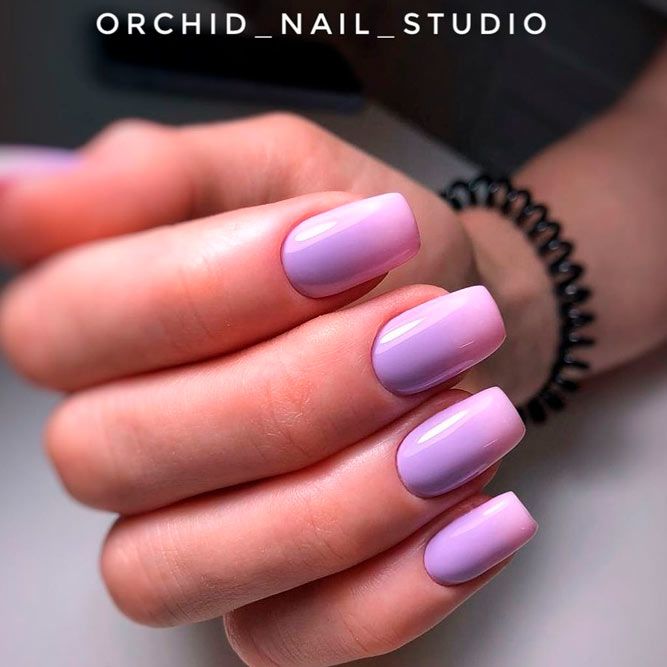
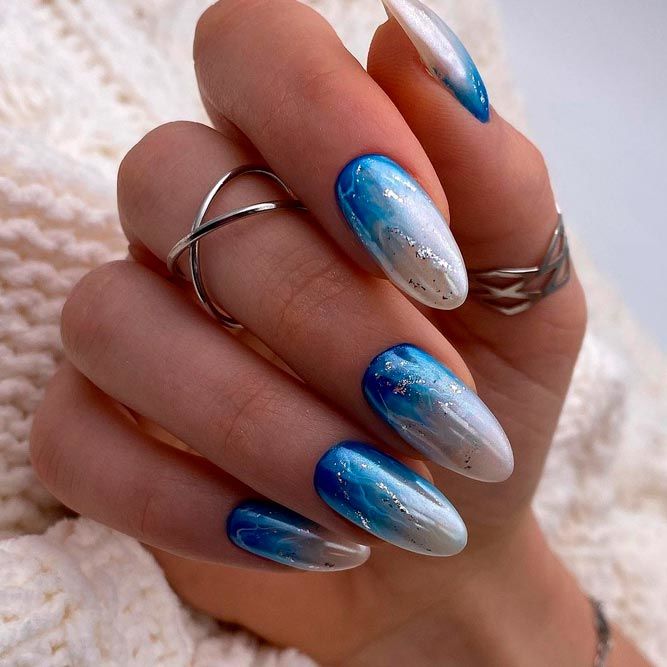
Not sure what an ombre nail is? This is a manicure type that implies creating a color gradient. It usually starts with a light shade at the nail base that melts into the darker one on the ends. Although this ombre nail design made by Anne Thompson with the Nude Purple Vegan Nail Polish by Essie (#21 Lilacism) does require some skills and effort on your part, the final result fully pays you off!
Сlassic Ombre Technique
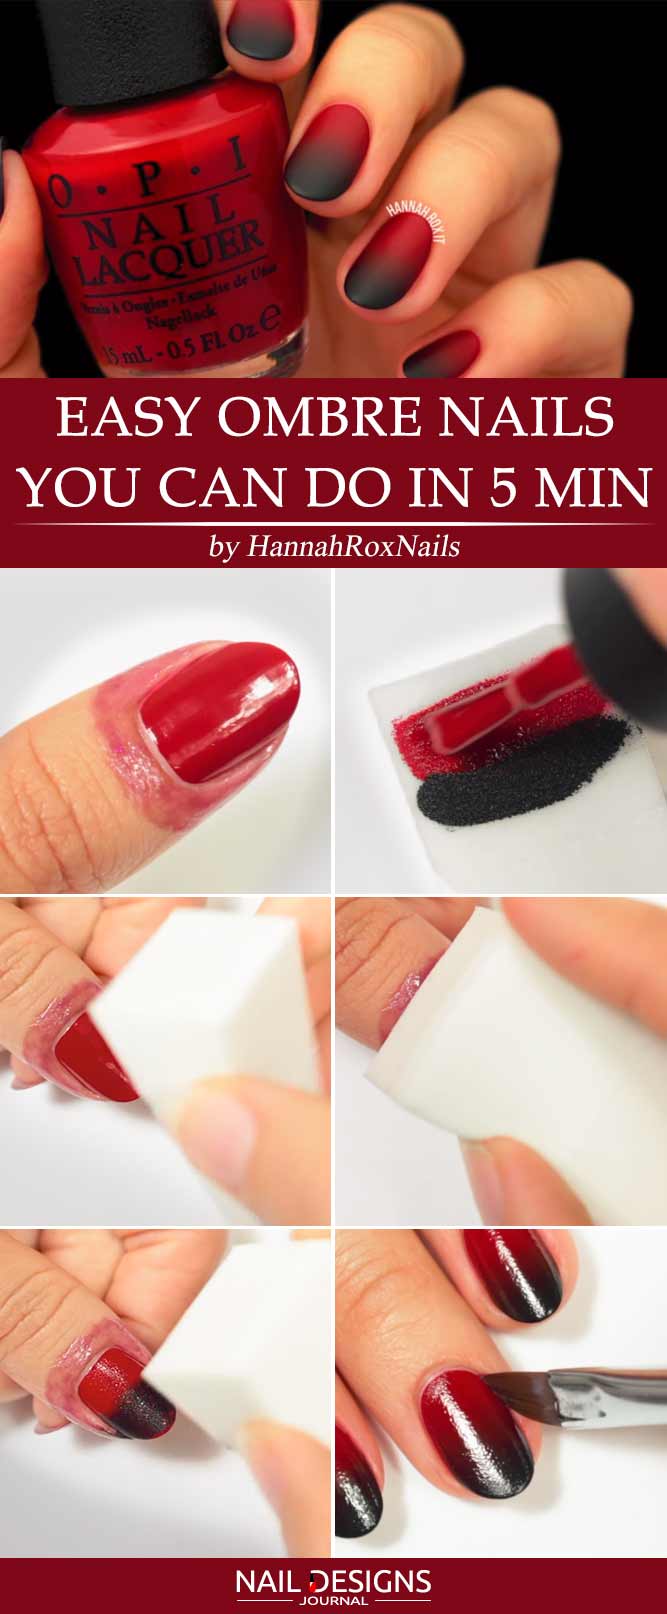
When you think about ombre nails, the first thing that comes to your mind is probably ombre gel nails with sponge. This technique is really classy and easy to do at home. Want to learn to ombre your nails with a sponge? Here is what you need to do:
by: HannahRoxNails via Youtube
Here is what you need to do:
- Apply base coat.
- Apply a base color coat.
- Apply peel off base around your nails.
- Apply the shades you are going to use for ombre over the sponge.
- Press the sponge over your nail.
- Repeat the procedure.
- Apply top coat.
As simple as that!
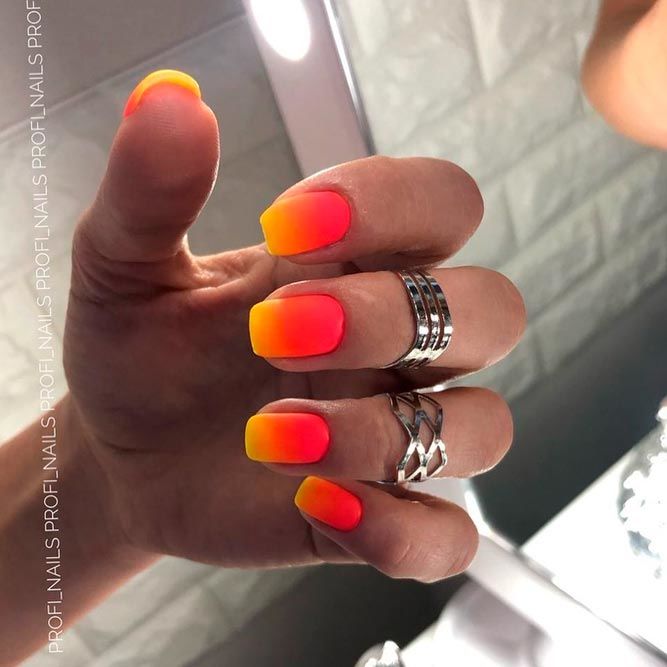
by @profi_nails
How To Do Ombre Nails Without Sponge
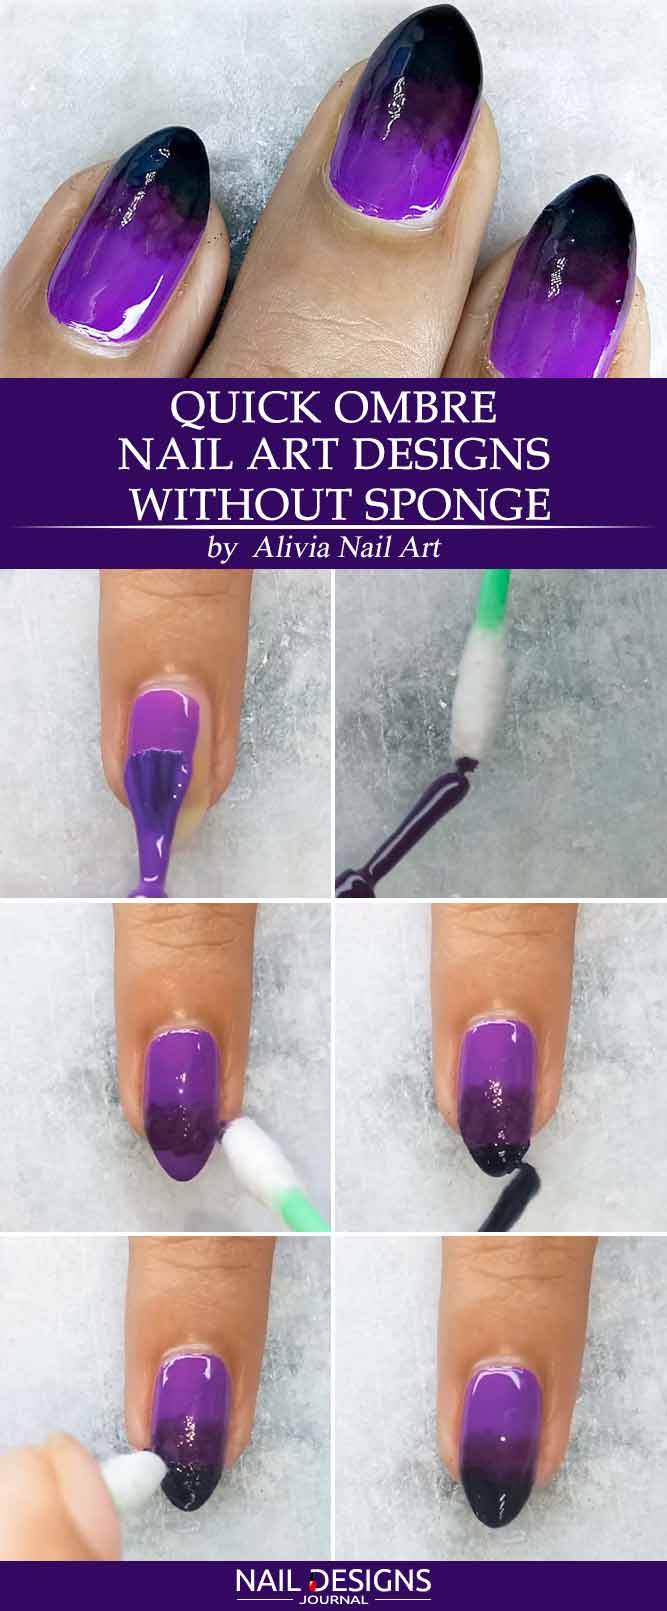
In case you are wondering how to do gradient nails without sponge, you have come to the right place. The thing is that you can pull off perfect ombre with the help of a cotton ball, a Q-tip or even a napkin.
by: Alivia Nail Art via Instagram
Here is what you can do using a mere Q-tip:
- Apply base coat.
- Apply a base color coat.
- Dab a Q-tip into a contrasting shade and start pressing it over your nails, starting with the middle of your fingernail.
- Repeat the procedure until you are finished with the design.
- Apply top coat.
If you are curious about some fresh and trendy color ideas – I have something that you are looking for, right here!
Ombre Nails Made with Brush
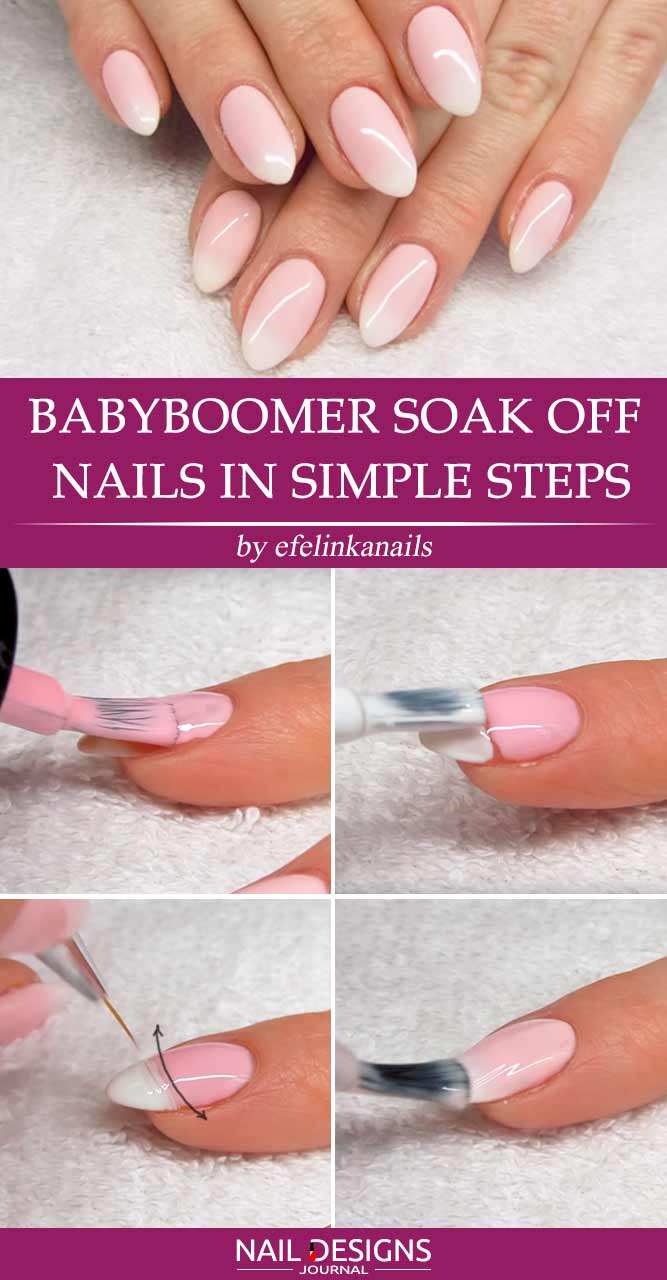
Another interesting way to do ombre nails is to do them with a brush. What is more, if you like your ombre nails French-styled, this is exactly what you need:
- Apply base coat.
- Apply a baby pink base color coat to half of your fingernail.
- Apply a white base to the other half, so that they are not touching.
- Use a tiny paintbrush to mix the colors.
- Apply top coat.
by @riornails
In case French ombre is not your cup of tea, you can always opt for other shades and I am more than happy to share them with you.
Ombre Nails Made with Airbrush
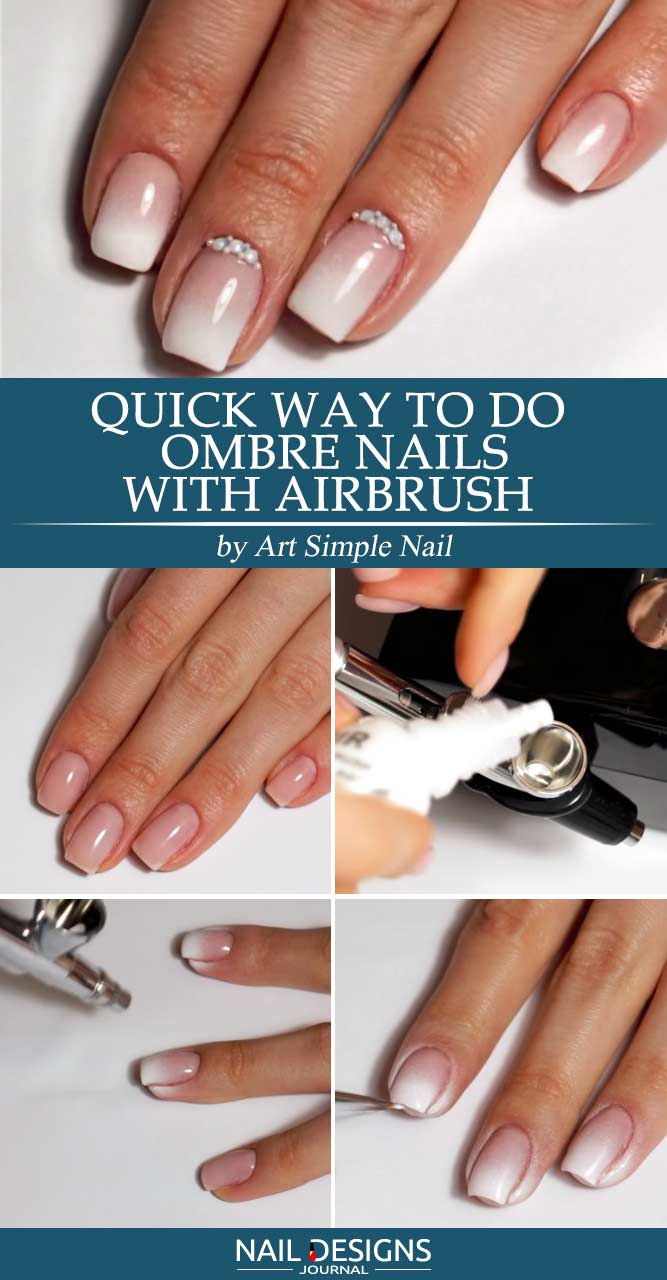
In case you are wondering how to do ombre nails without sponge so that it is fast and efficient, I have some useful info for you here. The cutest ombre will require a set of tools like the Airbrush Kit with Compressor, Air Brush Gun and Rechargeable Portable High Pressure Air Brushes with 0.7mm Nozzle and Cleaning Brush Set by Nlapldy. It may be pretty expensive but trust me, it is totally useful!
by: Art Simple Nail via Youtube
- Apply base coat.
- Apply a base color coat.
- Put some acrylic paint on your airbrush.
- Start spreading the acrylic paint over your fingernails.
- Apply top coat.
As you see, creating ombre manicure has never been so easy. Have a look yourself! It is amazing how fast it is to create such a masterpiece, isn’t it?
Glitter Ombre Gel Nails
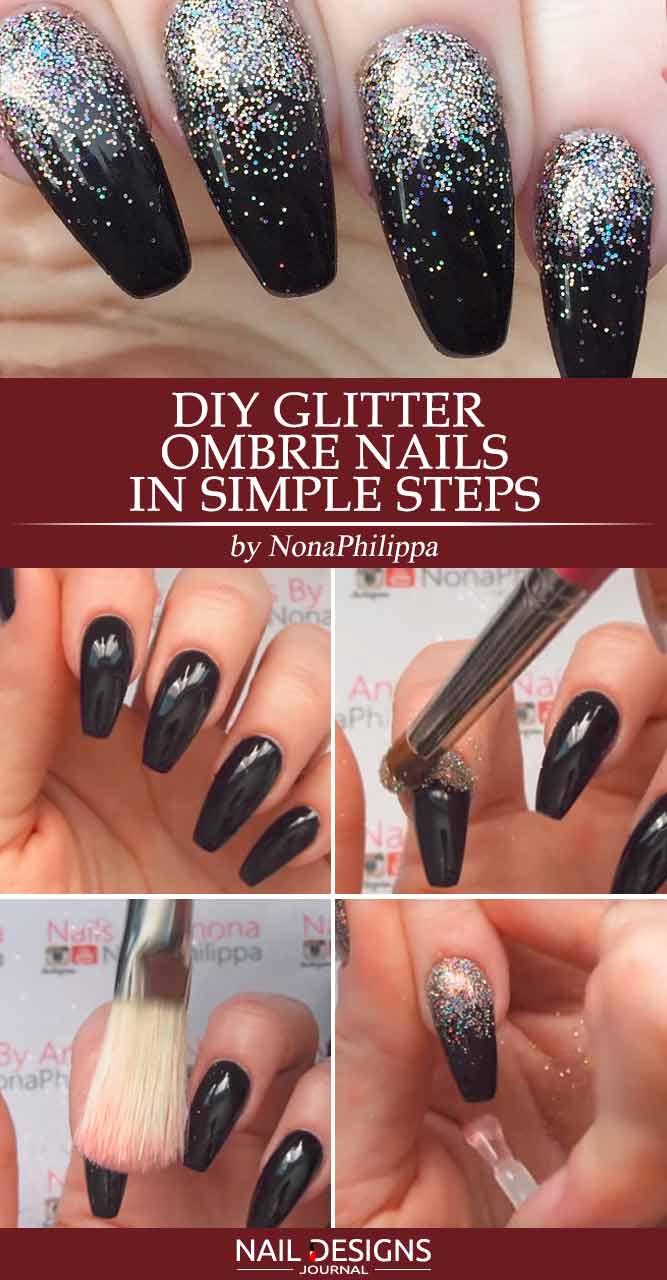
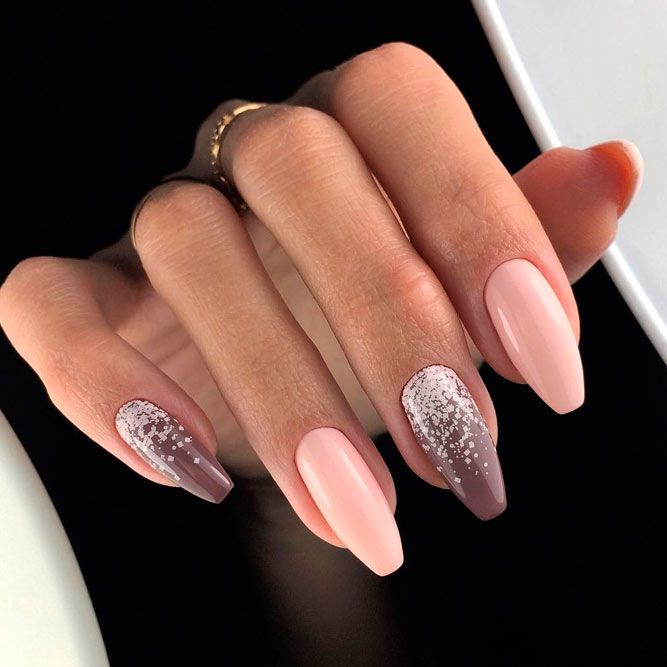
Glitter ombre gel nails are not for everyone, but sometimes the festive mood just begs for a nice sparkly addition! The good news is you do not need to go over the edge. Just a little bit is sometimes more than enough. And here is how you can do that:
- Apply base coat.
- Apply a base color coat.
- Apply glitter over the top or bottom of your nail, depending on your preferences.
- Sweep away all the unnecessary glitter.
- Apply top coat.
You can use whatever shade of glitter or base color you like, yet I would like to share a friendly piece of advice – glitter coffin nails look extremely gorgeous, no matter the shade!
Holographic or Chrome Ombre Nails
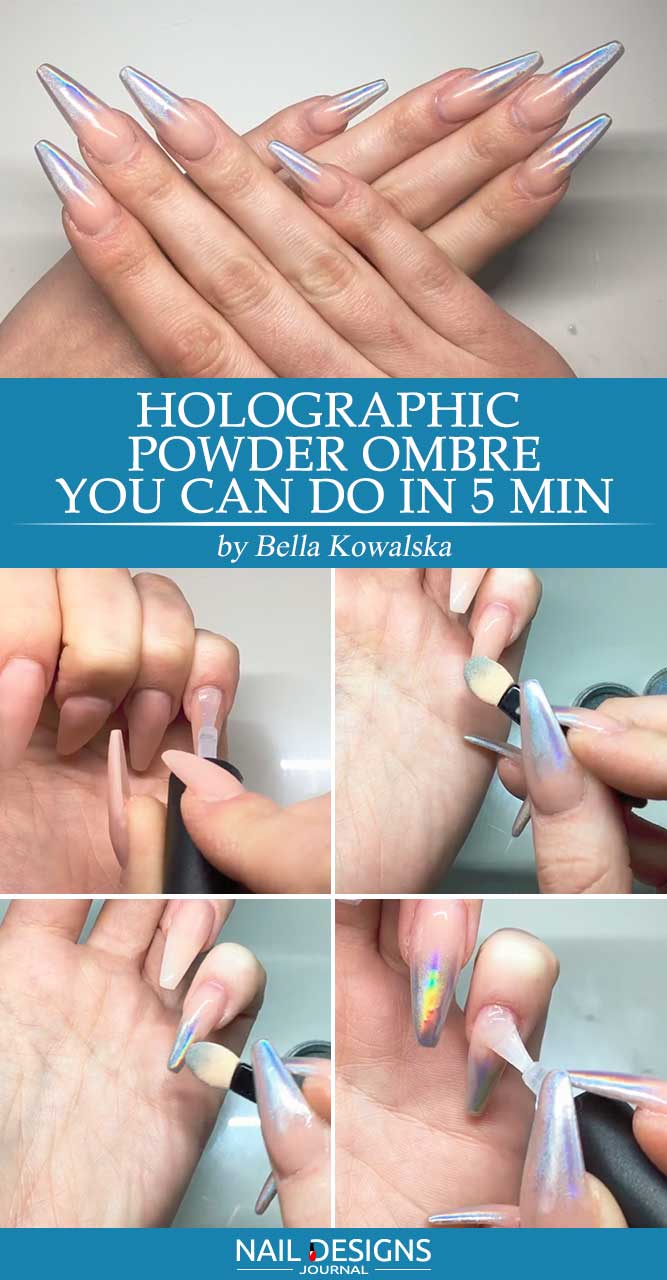
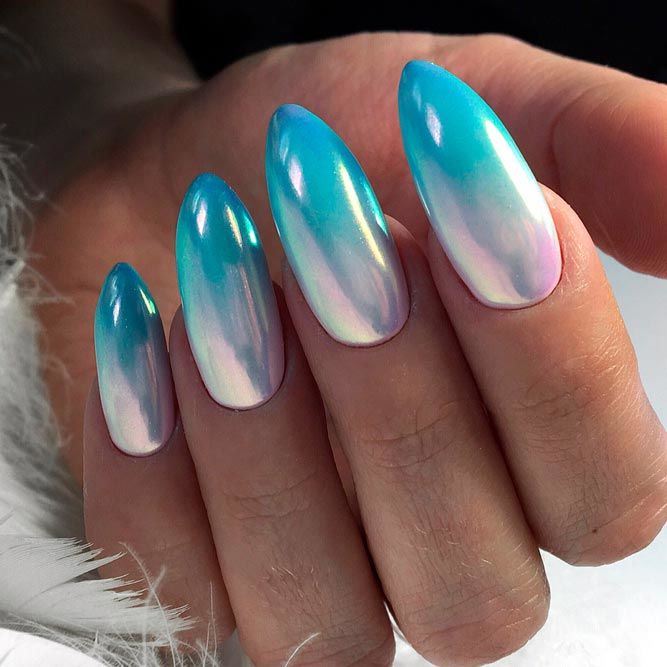
How to do ombre nails so that they look extraordinary unique? I think that holographic or chrome ombre nails may be the answer to your question. And here is what you need to achieve the look:
by: Bella Kowalska via Youtube
- Apply base coat.
- Apply a base color coat.
- Apply holographic powder to your nails with the help of applicator, so that you create an ombre pattern.
- Apply top coat.
by @profi_nails
As you see, there is nothing complex about this technique, but as you can see from the examples, the effect it has is simply breath-taking!
Vertical Rainbow Ombre Nails
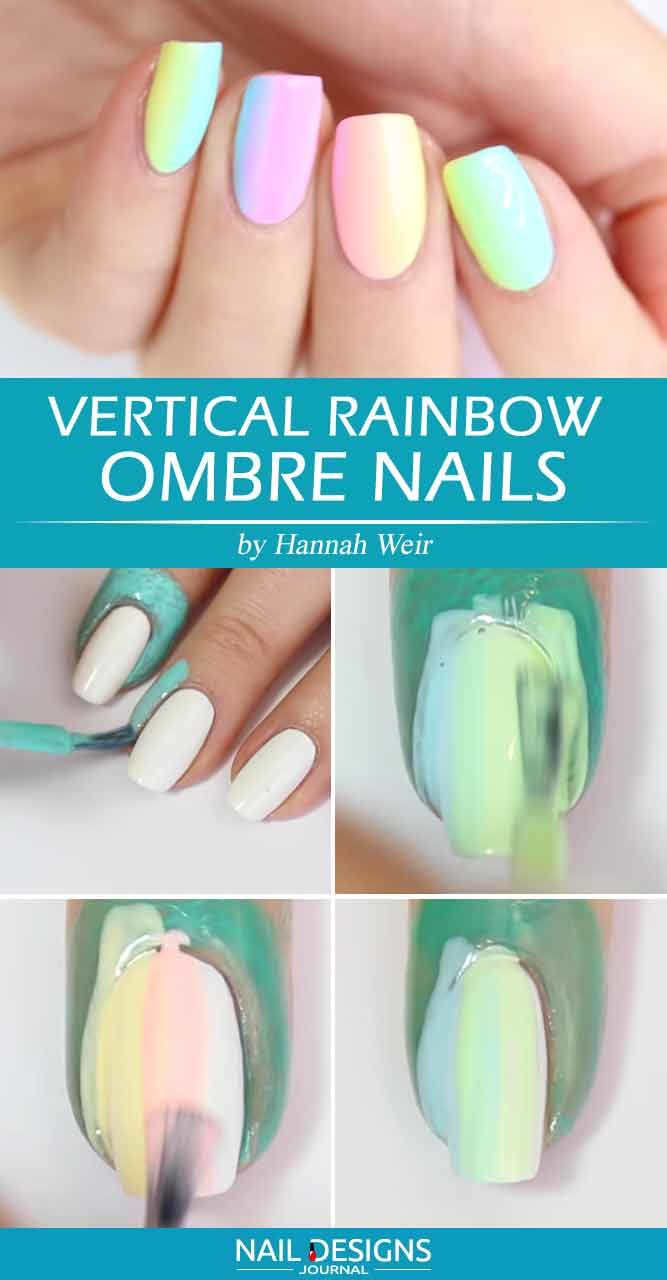
If you want your manicure to give off positive vibes, then throw a rainbow twist into it. To achieve an authentic look, you should apply the colors using a vertical ombre technique.
- Apply a white color as a base coat and liquid latex around the cuticles to protect them.
- Apply the first color to one-third of the nail.
- Apply the second color to the center of the nail.
- Apply the third color to the other one-third of the nail.
- Repeat steps 2-4 with the rest of the nails.
There is a plethora of unusual ways to pull off a vertical rainbow ombre nail style. You do not have to employ every color of the rainbow if you do not want to. You can play around with shades employing only several rainbow colors rather than all of them. Also, rainbow nails are a perfect canvas for your creative nail art endeavors. If you need some inspiration, here are the most mesmerizing ideas.
How To Ombre Nails With Floral Art
by @nailsby_may
by @nailsby_may
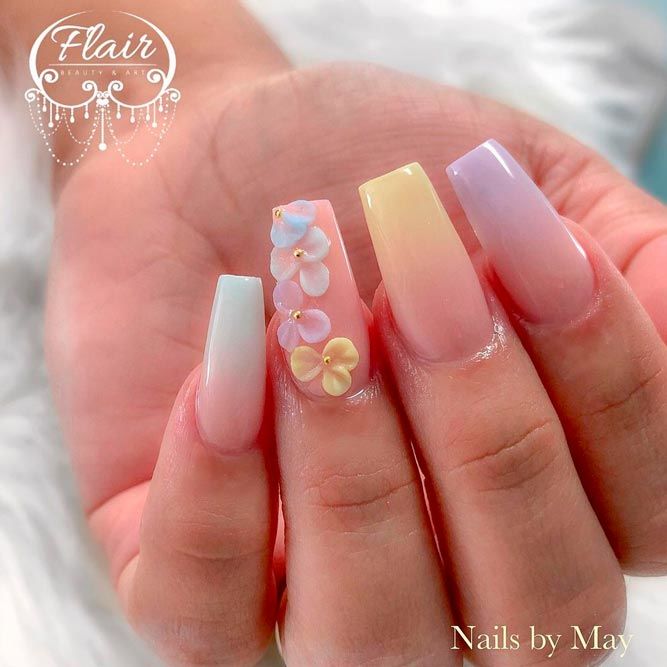
Floral ombre nail designs are not something unusual, especially during the summertime. But sometimes we all get bored of ordinary designs that are suggested at the salons. That is when you should try this lime to yellow transition with purple flowers. Do not thank me!
Bright Colored Ombre Nail Designs
by @doobysnails
by @nailsby_may
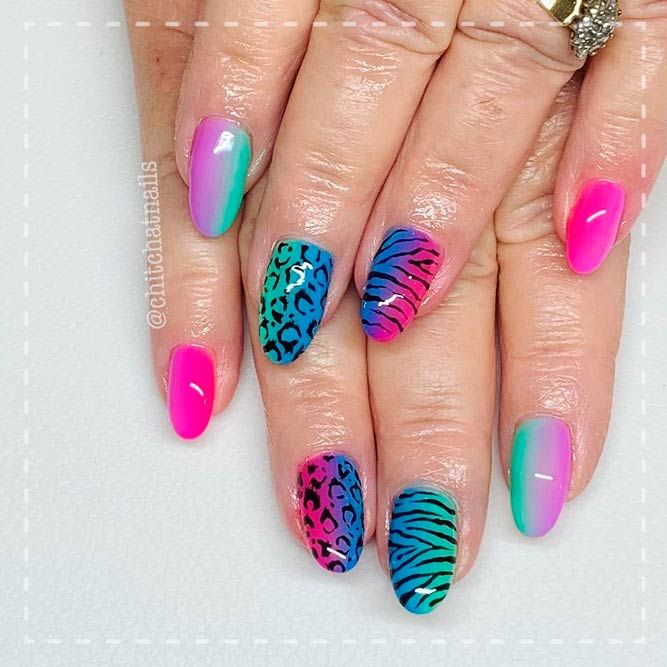
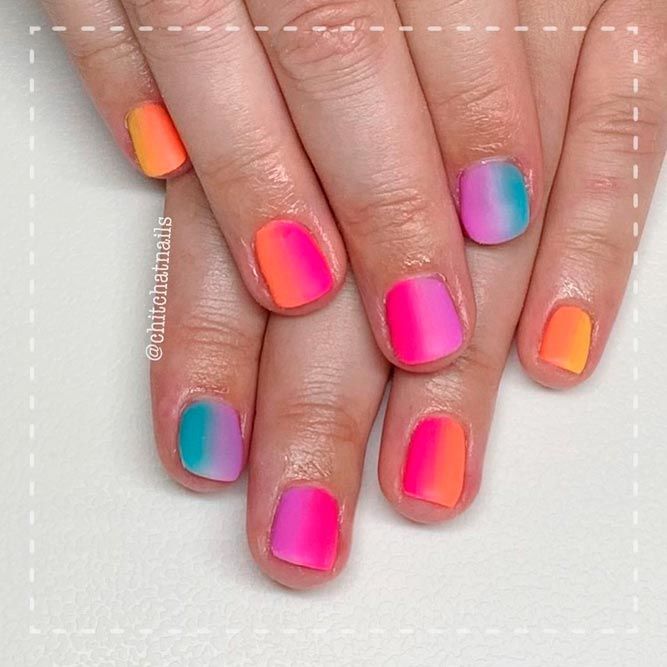
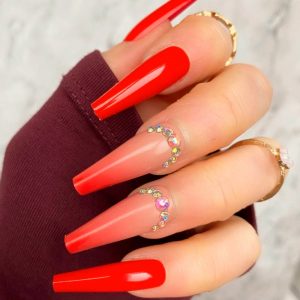
How to do ombre nails so that everyone becomes jealous of you? Oh, that is very simple. Make jewels out of your nails, just like these fiery red matte ombre nails crafted by LA-based nail artist, expert in creating nail tutorials and custom press-ons, known as Bel Fountain.
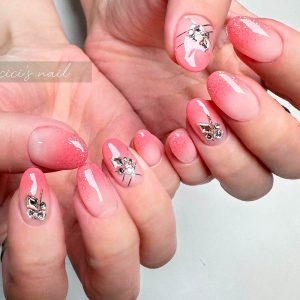
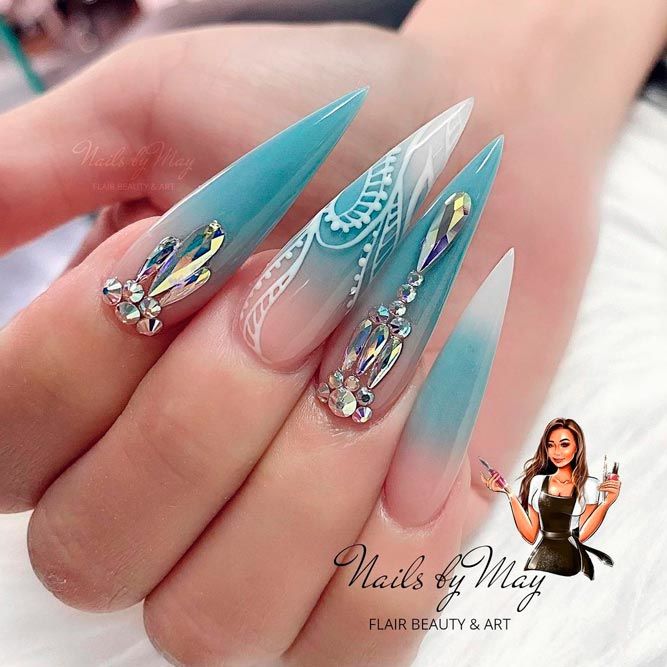
Gentle Ombre With Stones
by @cicis_nail
by @nailsby_may
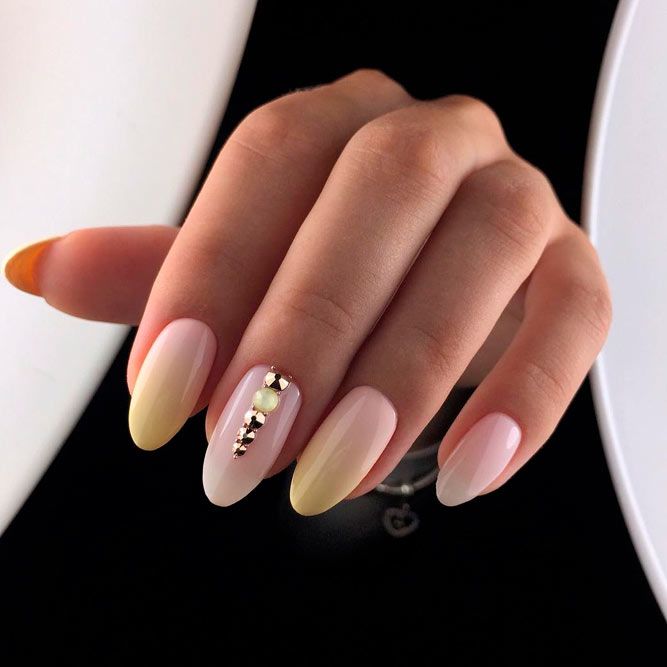
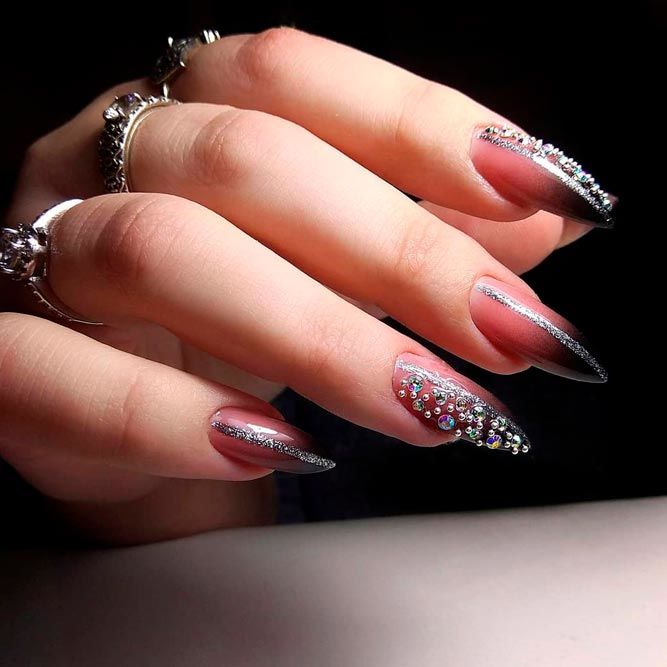
Ombre technique never stops mesmerizing us. The truth is that there are so many things that you can combine it with, not to mention the range of shades to play with.
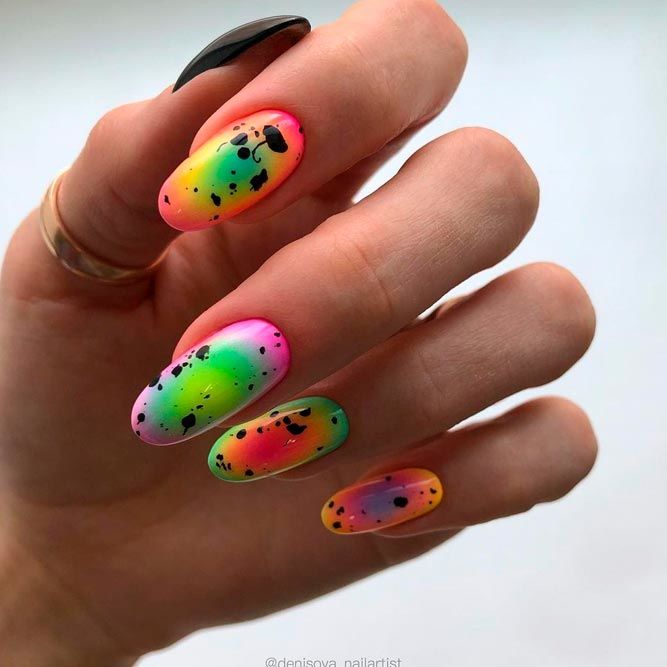
Absract Ombre Nail Art
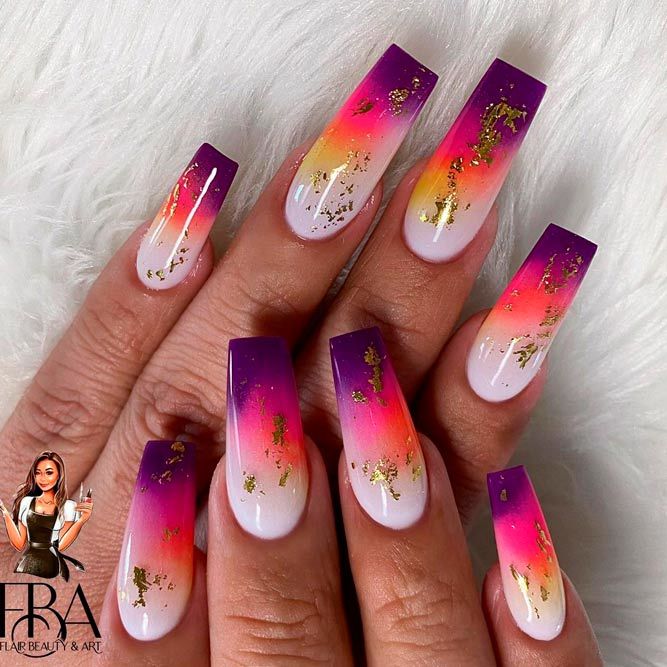
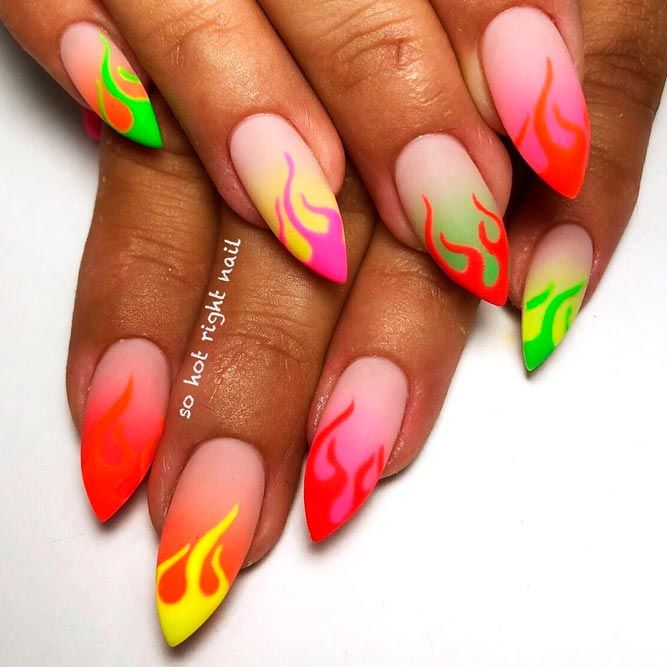
Abstract nail art is on the top of the trend now, and I know how you can take it to the whole new level. What do you think? I think it is simply marvelous!
Classic French Fade
by Shutterstock
by @profi_nails
Ombre nail design is an easy way to give your classic French mani a modern feel. If you normally flaunt nude nails because of the dress code at work or personal preferences, apply your usual colors in an ombre technique. You will notice how effortlessly it spruces up your low-key manicure!
Trendy And Sweet Pastel Gradient
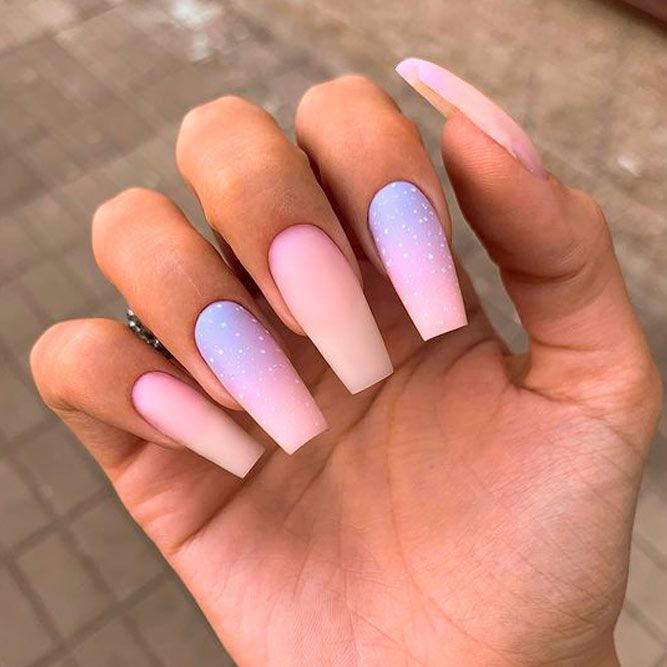
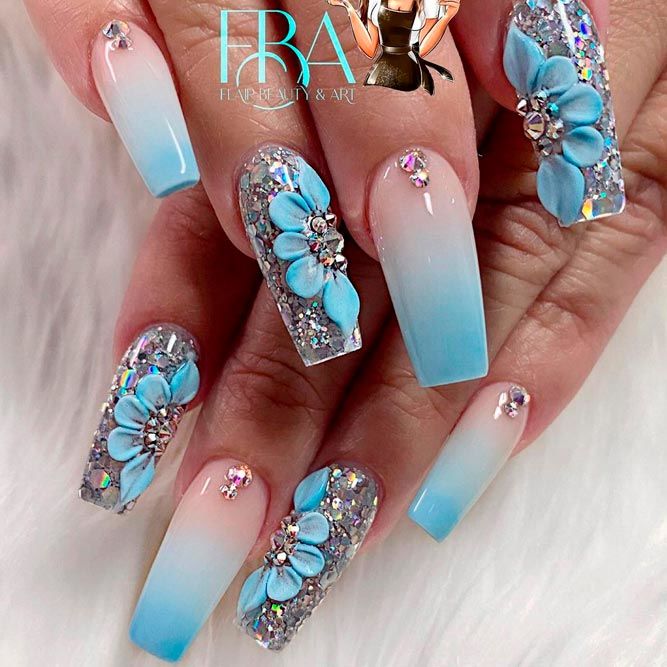
Soft nail colors are not less trendy than bright shades. Just look at this sweet combination of pastel blue and mint colors that is taken almost to the level of royalty with the charming sequins.
Now that you know how to do ombre nails in plenty of ways, I hope that you will no longer struggle with your next manicure design. As you can tell, this technique allows for so many different nail styles that you are guaranteed a new mani every day! Yet, time doesn’t stay still. So, come back for a fresh update any time you decide that you have tried it all!
FAQ: How To Do Ombre Nails
What is the difference between gradient and ombre?
Gradient is a type of coating where one color smoothly transitions into another. This smooth effect is achieved with the help of closely spaced shades, while ombre is a gradient coloring with a smooth transition from dark to light or vice versa.
SOURCES:
Was this article helpful?

