
Working on your nails is always a creative process, we all know that. That is why when it comes to the creation of a masterpiece there are many things to be taken into consideration. One of those things would be – what to depict when the nail day comes. It happens so that we may have a handful of worthy butterfly nails ideas in mind and we are going to share them with you today. We assure you that from now on there will be no difficulty for you to succeed with the creation of bright, unique and easy nail art designs, dive it!
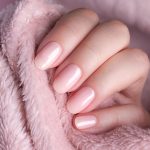
DIY Butterfly Nails To Do At Home
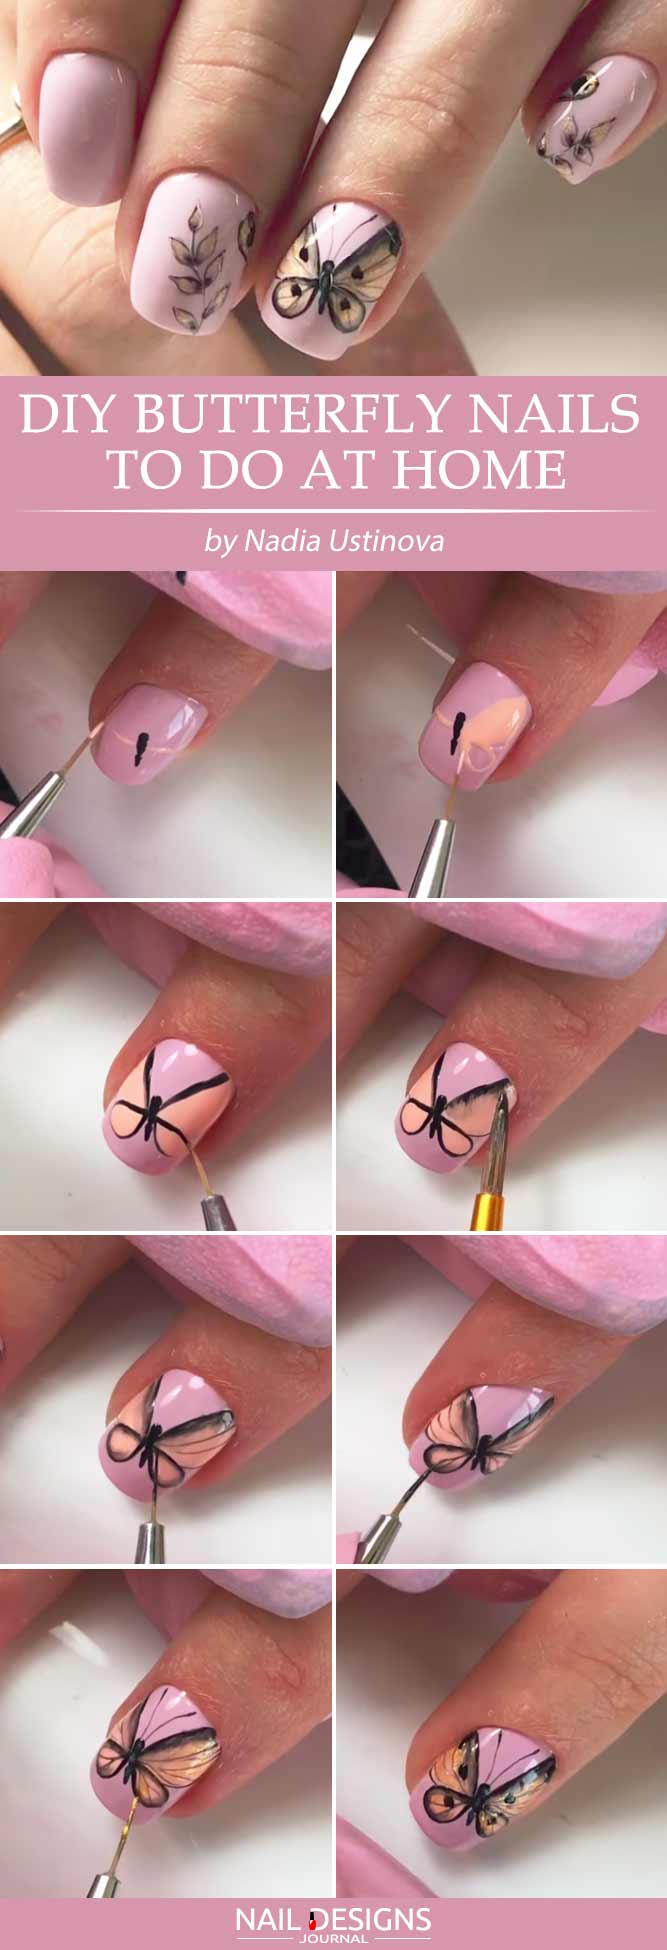
- Apply a base coat.
- Apply light pink base coat.
- Start off with the core of your butterfly, paint it in the middle of your nail with the help of thin detailer brush and black nail polish.
- With the help of peach nail polish and detailer brush, create the wings of a butterfly.
- Add the black outline to the butterfly.
- Use a clean blush and some acetone to smear the lines a little bit.
- Add thin lines to the wings to create a pattern.
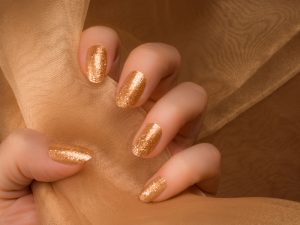
- Add some gold sparkling nail polish to your nail design for greater effect.
- You can also add some leafy pattern to the other nails an add pieces of wings to other nails.
- Apply a top coat.
DIY Butterfly Nail Art Stickers
Did you know that you could easily create butterfly nail stickers at home? We are going to show you how altogether with an interesting design that comes with!
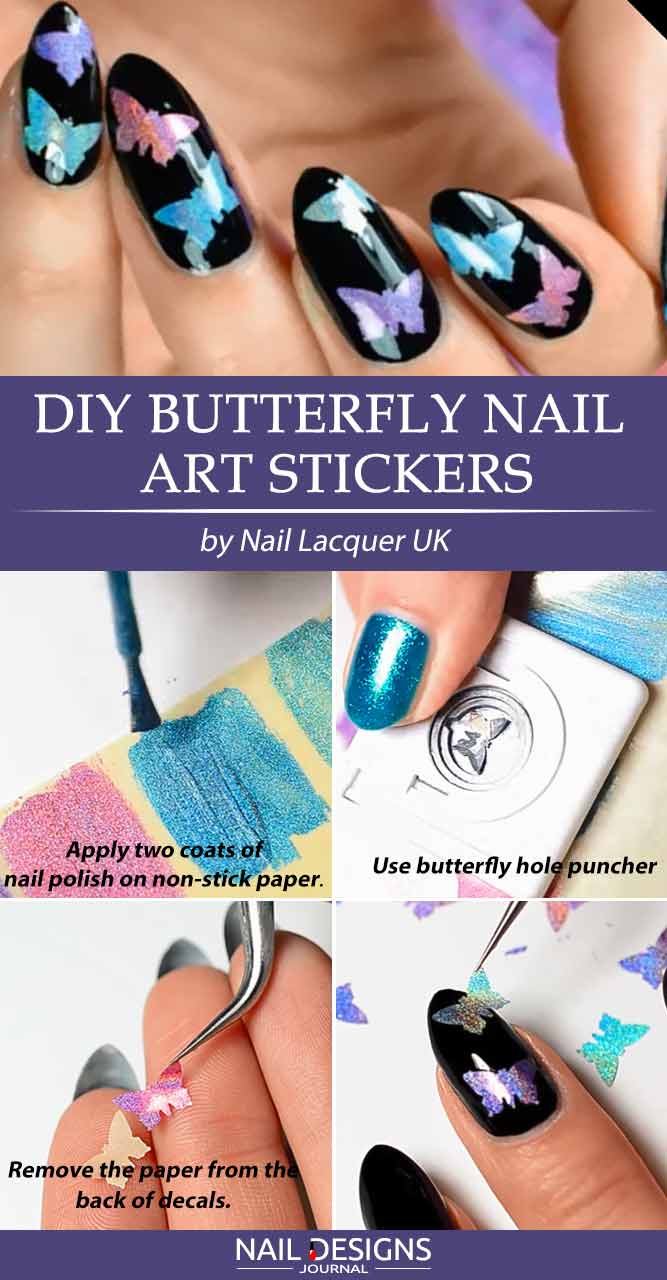
- Apply two coats of holographic nail polish on non-stick paper.
- Apply a top coat over.
- With the help of mini butterfly hole puncher cut out the shapes.
- Apply a base coat to your nails.
- Apply a black base coat.
- Remove the paper from the back of decals.
- Apply a top coat over your nails and gently press the decals on.
- Apply a top coat.
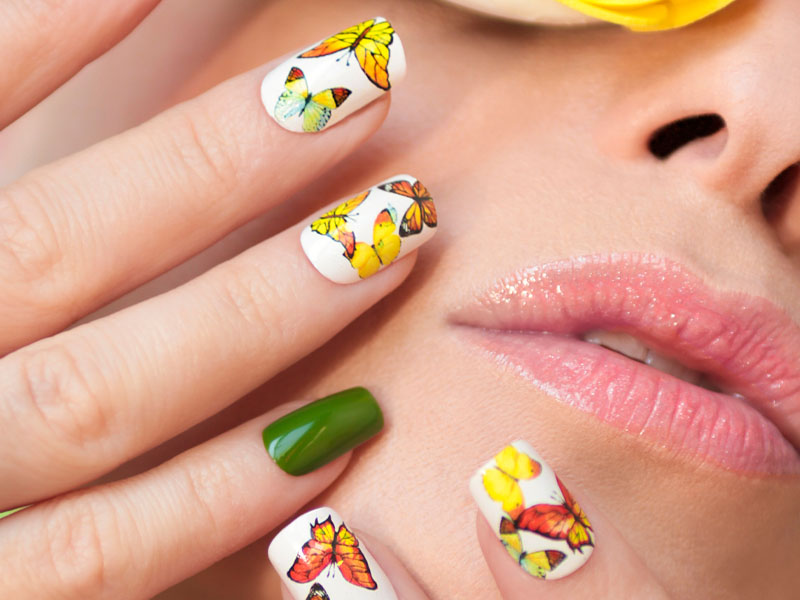
Monarch Butterfly Wings Nail Art In Simple Steps
Simple butterfly nail art can be gorgeous as well.
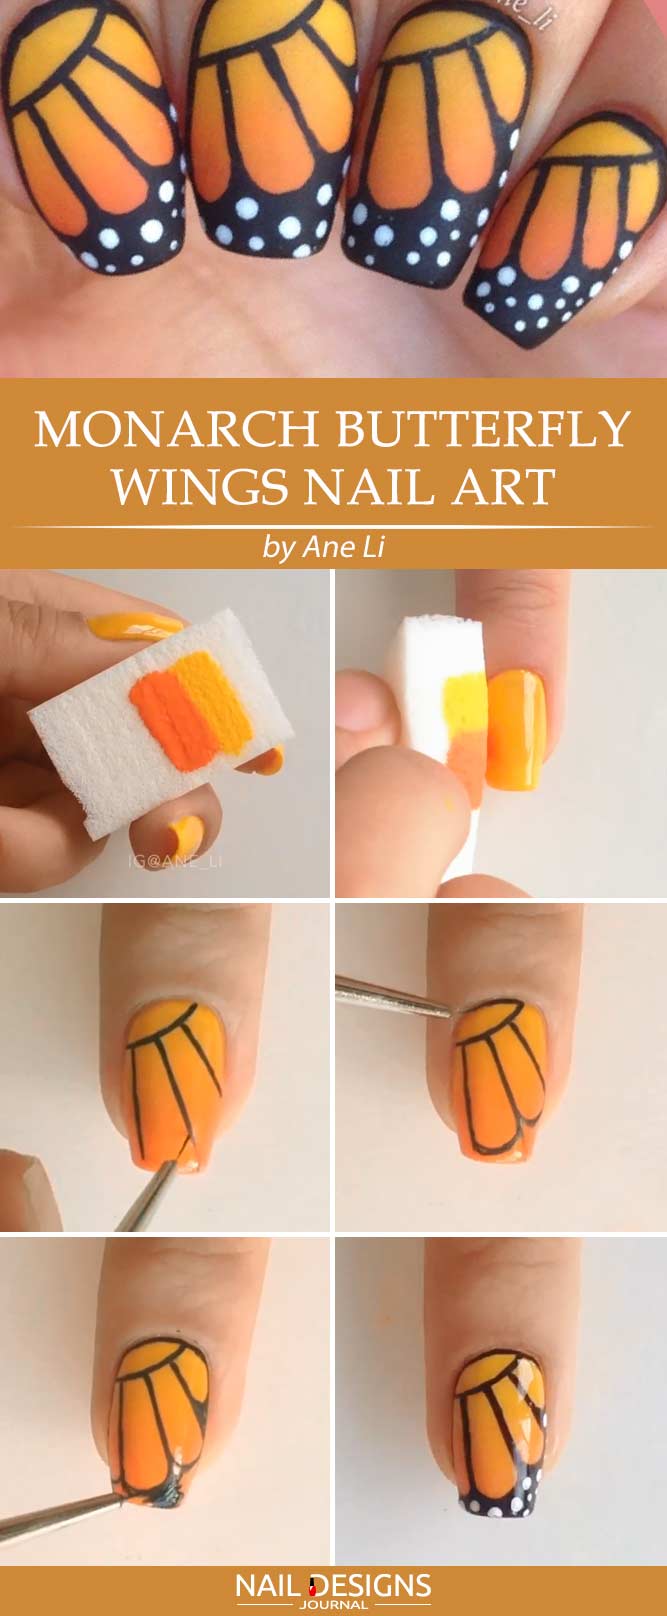
- Apply a base coat.
- Apply yellow base coat.
- Add two stripes of yellow and orange nail polish to the makeup sponge.
- Apply liquid latex to secure your cuticles.
- Dab the sponge over the nail to create an ombre effect.
- Add a thin black line close to your cuticles.
- Add three lines down the middle.
- Curve the ends of the lines.
- Outline your nail.
- Fill in the empty spaces with black nail polish.
- With the help of a dotting tool add some white dots to the design.
- Apply a top coat either shiny or mate.
Quick Butterfly Nails With Water Decals

- Apply a base coat.
- Apply light grey base coat.
- Use your stamping plate and a stamper to transfer a light mint leafy pattern to your nails.
- Take a water decal, place it into the water for a few seconds.
- Apply it to your nail.
- Add some sparkles for the greater effect.
- Apply atop coat.
Easy Butterfly Nail Art With Stamping
The best butterfly nail art step by step is at your disposal! One more thing, we would like you to pay attention to what beauty can be created with something as simple as stamping!
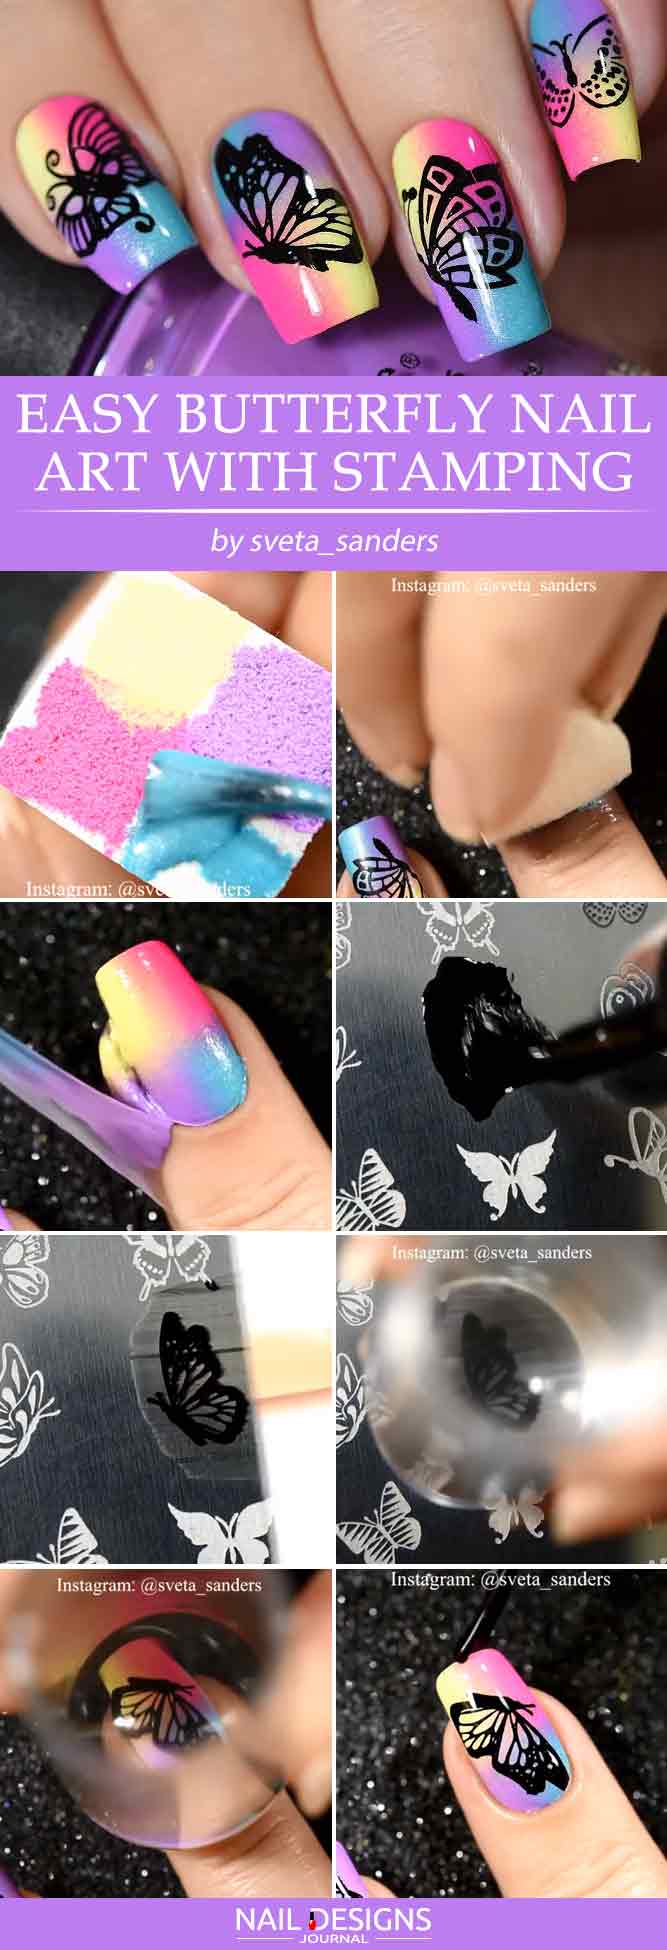
- Apply a base coat.
- Apply white base coat.
- Apply liquid latex to protect your cuticles.
- Add four bright colors to your sponge for the ombre effect.
- Press it over your nail.
- Remove the liquid latex.
- Apply black nail polish to your butterfly stamping plate.
- Transfer the design to your nail.
- Apply the top coat.
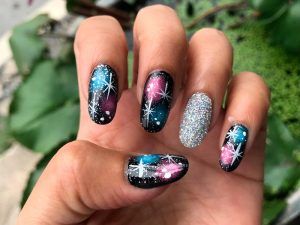
Ombre Butterfly Nail Art Design Step by Step
One of the best butterfly nail art designs step by step is ready for you to replicate it!
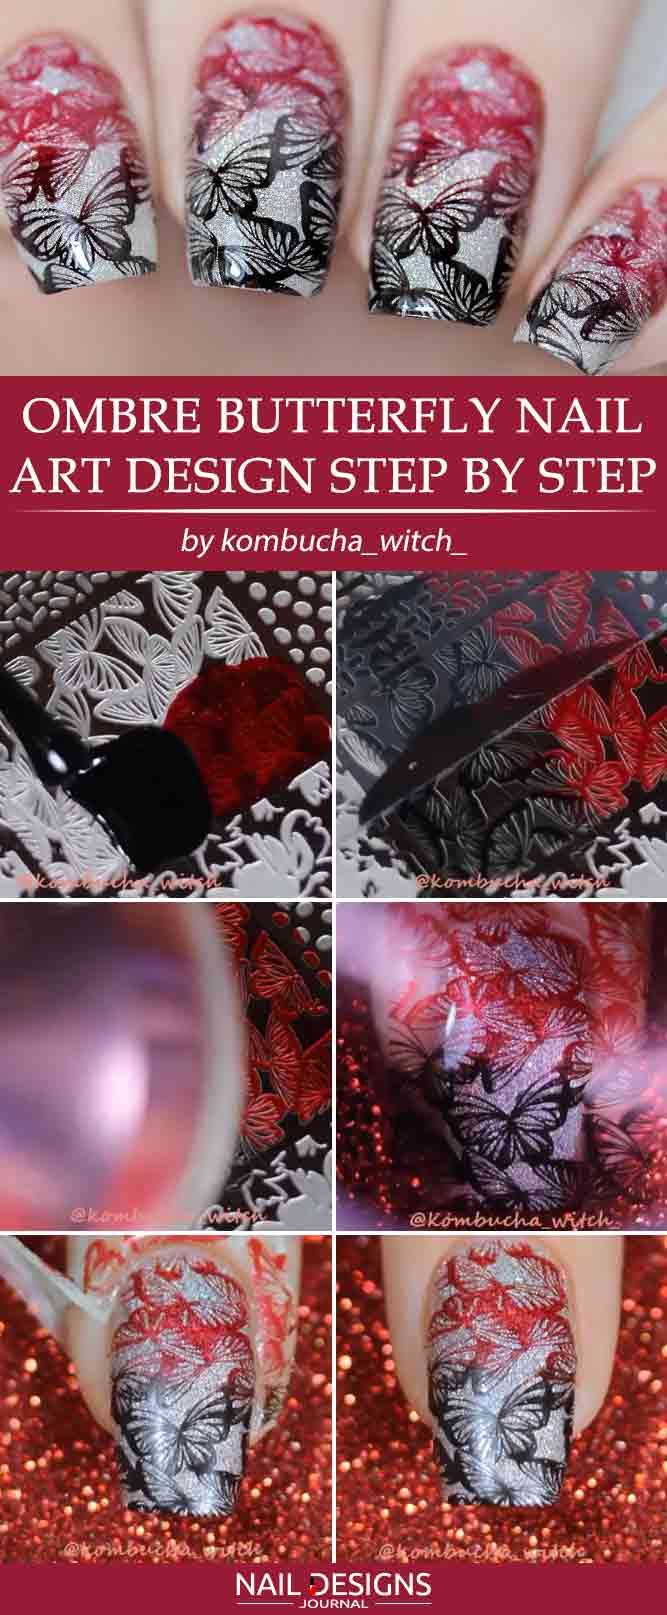
- Apply a base coat.
- Apply silver sparkly base coat.
- Apply liquid latex to protect your cuticles.
- Apply black and red nail polish to your butterfly stamping plate.
- Transfer the design to your nail.
- Remove the liquid latex.
- Apply the top coat.
Colorful Butterfly Nail Art Step By Step
There is never too much color when it comes to butterfly nails!
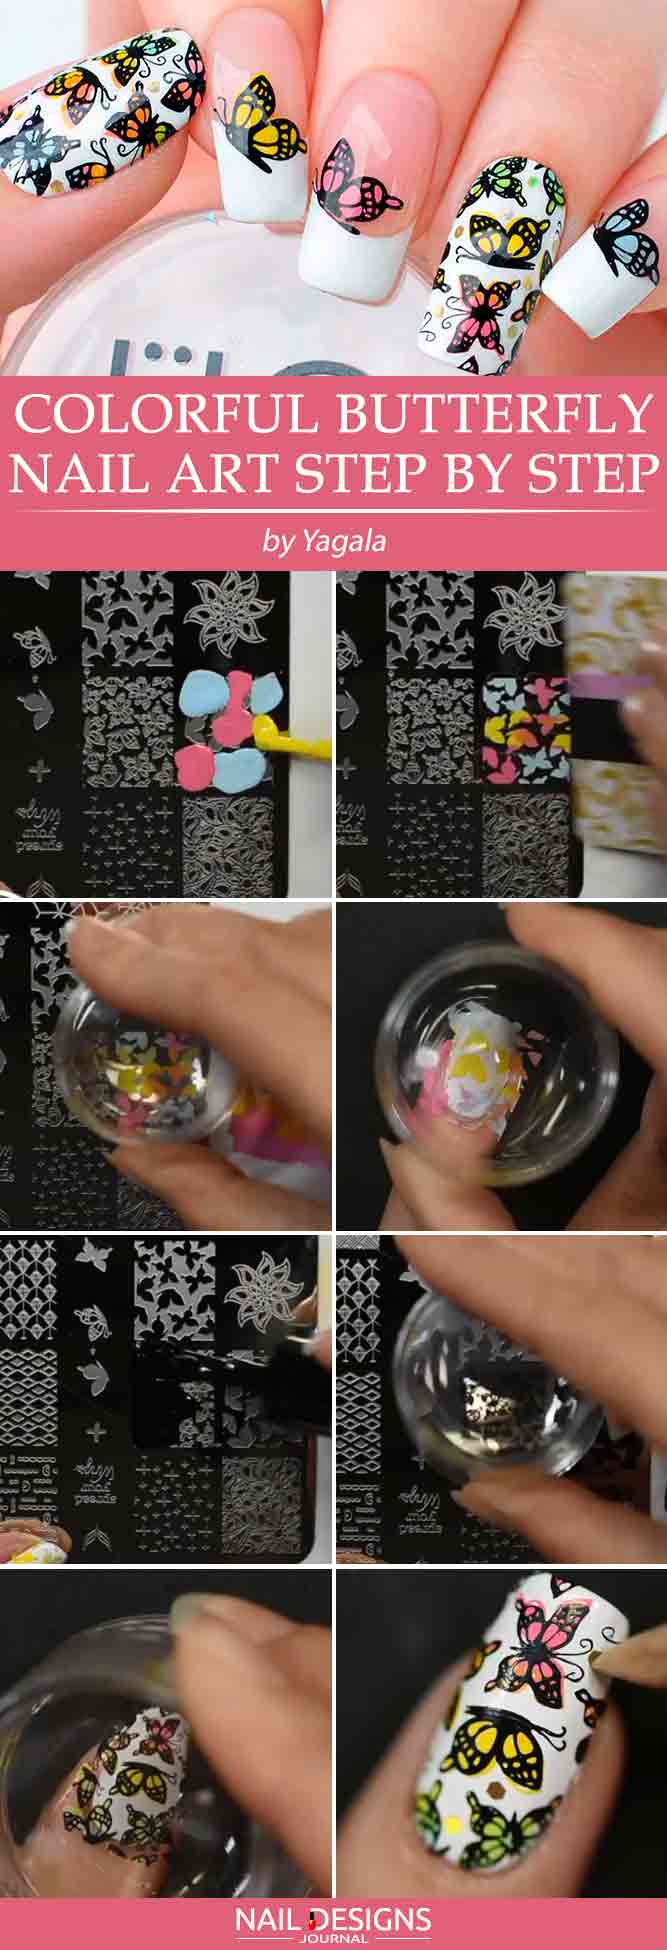
- Apply a base coat.
- Apply white base coat.
- Apply liquid latex to protect your cuticles.
- Apply light pink, blue and yellow nail polish to your butterfly stamping plate.
- Transfer the design to your nail.
- Apply black nail polish to your butterfly stamping plate.
- Transfer the design to your nail.
- Remove the liquid latex.
- Apply the top coat.
In case you are looking for an easy butterfly nail art you have come to the right place.
Was this article helpful?